透過Claude Desktop實作MCP應用
直接進入實作
- 本次範例使用到的MCP Server
- Filesystem:訪問本地文件、可作為知識庫
- Brave Search:搜索引擎,能提供網路資料來源
- Fetch:爬取網頁內容,依內容進行進一步問答
- 記得要先安裝好Node.js、Claude Desktop,下載適當版本後直接安裝即可使用。
(一)Claude Desctop操作說明
-
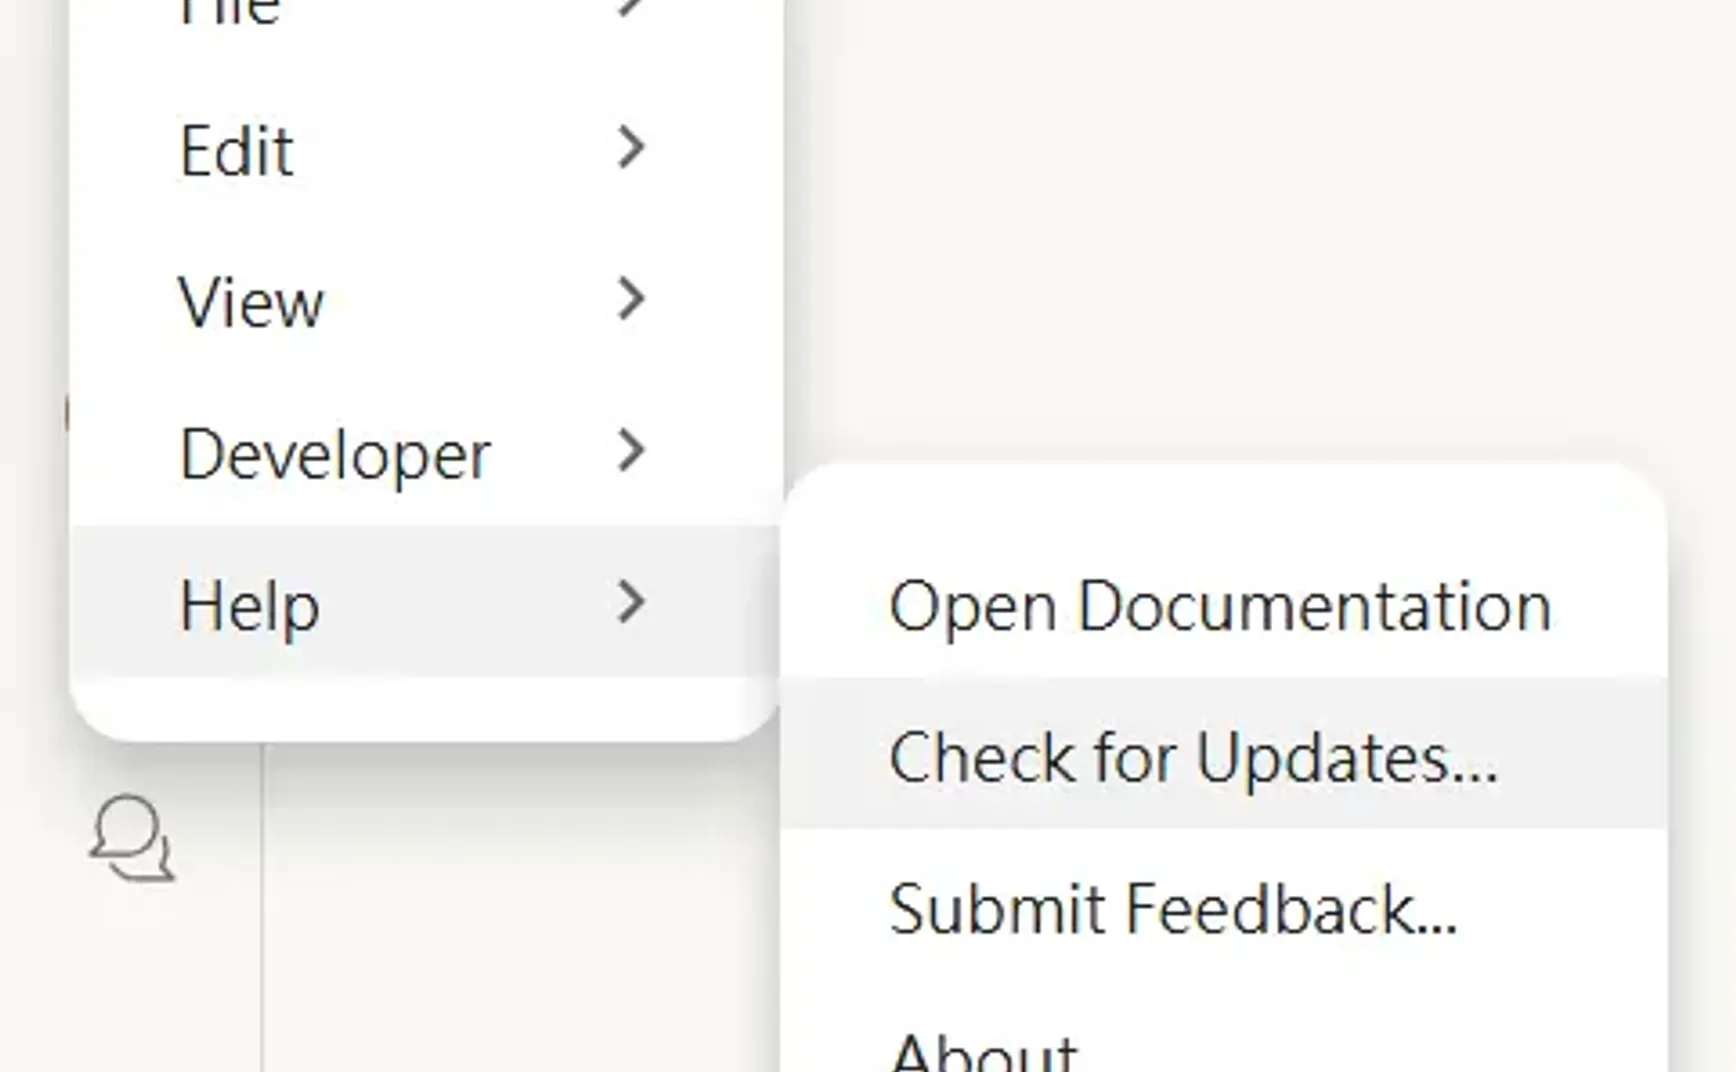
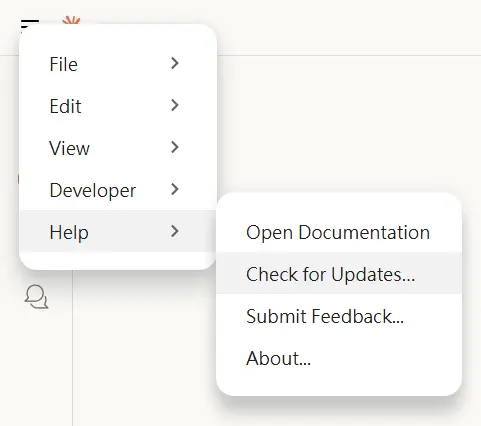
可先將Claude Desktop更新至最新版以確保支援MCP。從畫面左上的三>Help>Check for Updates。
-
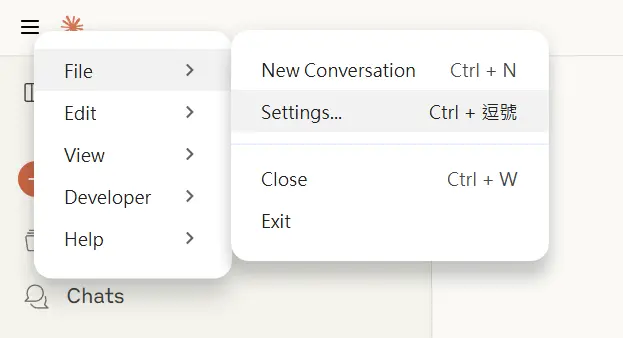
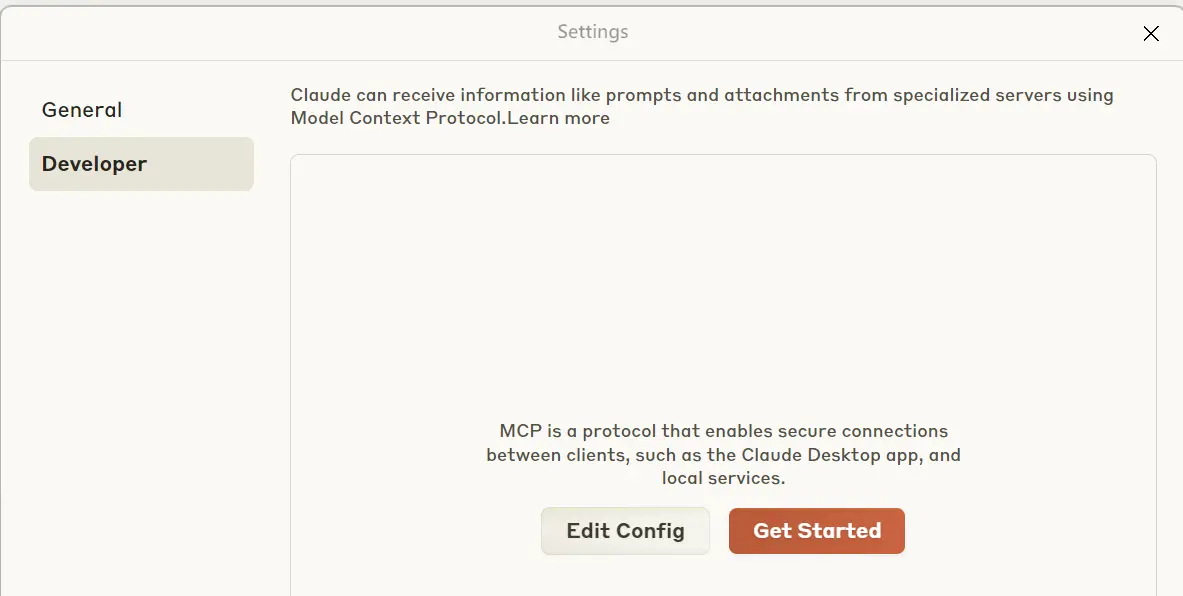
進入MCP Server設定:我們要找到claude_desktop_config.json文件準備進行npx等相關設定。從畫面左上的三>File>Settings。小視窗左邊切到Developer後,按下Edit Config,就會打開claude_desktop_config.json所在資料夾。
-
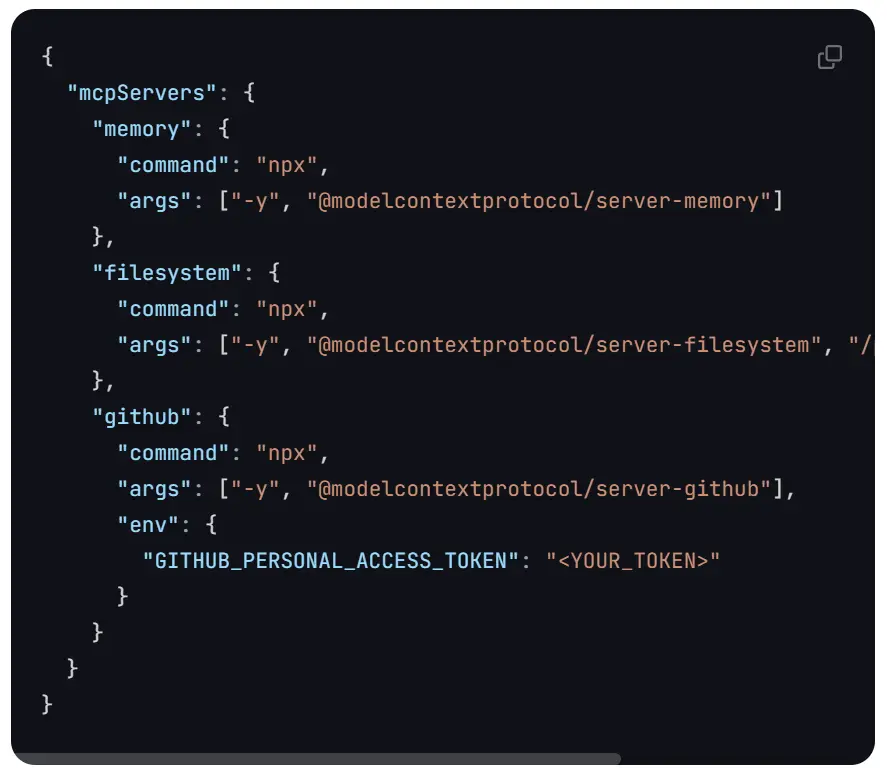
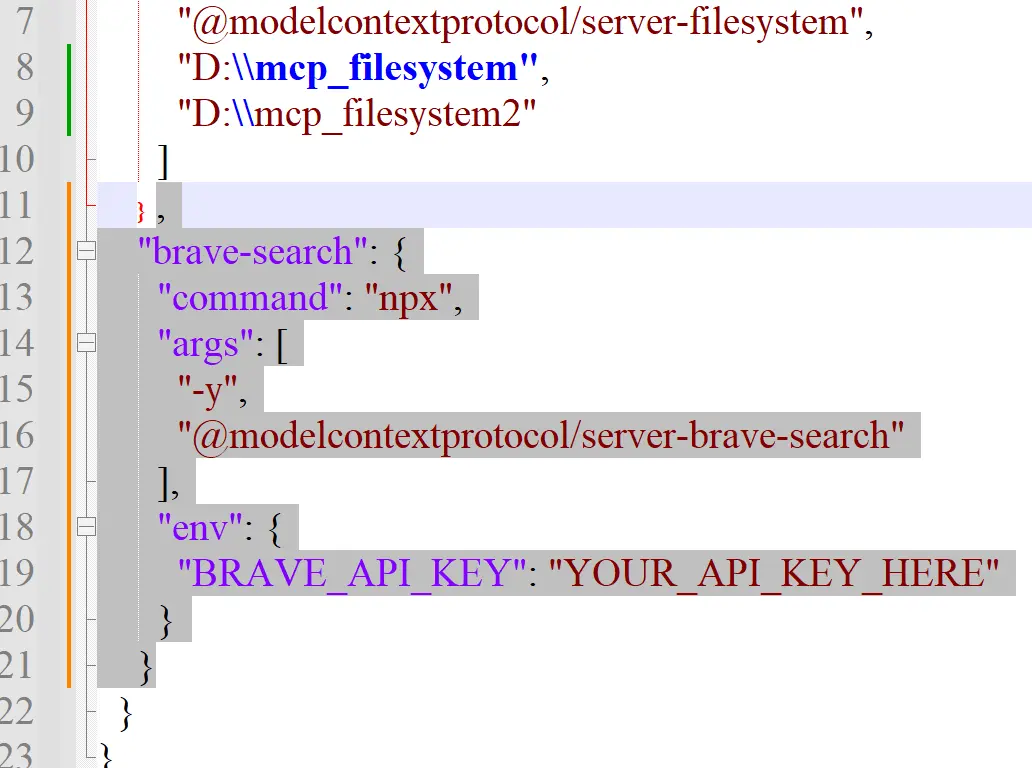
claude_desktop_config.json文件裡就是要放官方所訂的MCP Server描述,類似以下內容格式。
(二)使用Filesystem MCP:
- 在Claude中安裝配置
參考Filesystem的官方安裝說明>Usage with Claude Desktop,上面寫需在claude_desktop_config.json中(可從claude>左上三摃>File>Settings)。配置參考如下:- 最後是要開放給MCP能存取的目錄,注意:
- 建議只開放不重要的目錄較安全
- 在windows下的路徑要用2個倒斜線代表,例如
D:\\mcp_filesystem - 如果想開放多個可用,隔開
- 最後是要開放給MCP能存取的目錄,注意:
-
需重開Claude Desktop
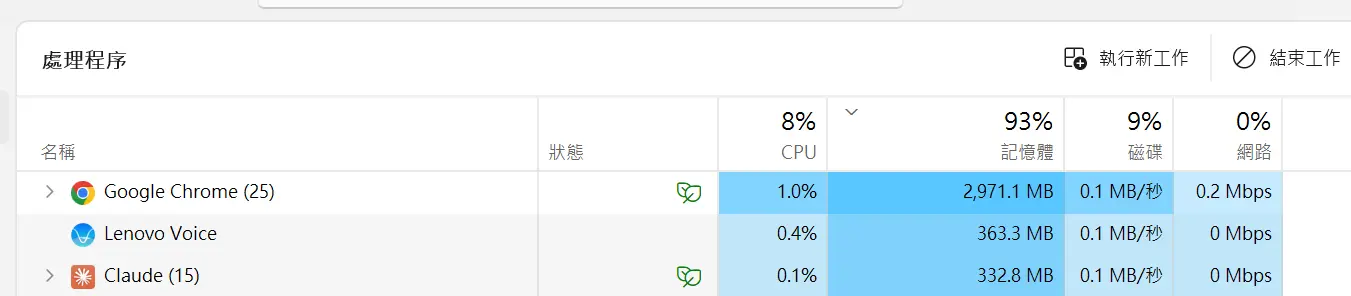
這裡試過關閉視窗後仍可能會卡住,保險一點按Ctrl + Alt + Del用工作管理員來強迫關閉斷所有Claude Desktop
-
確認Claude Desktop的MCP已正確安裝
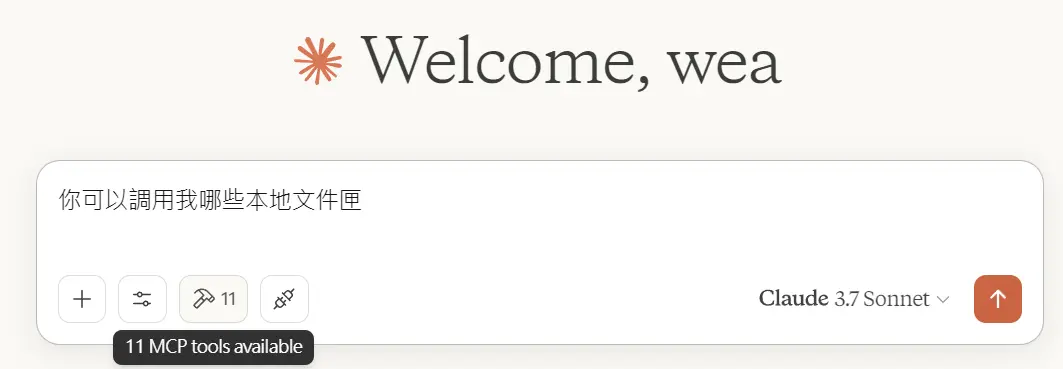
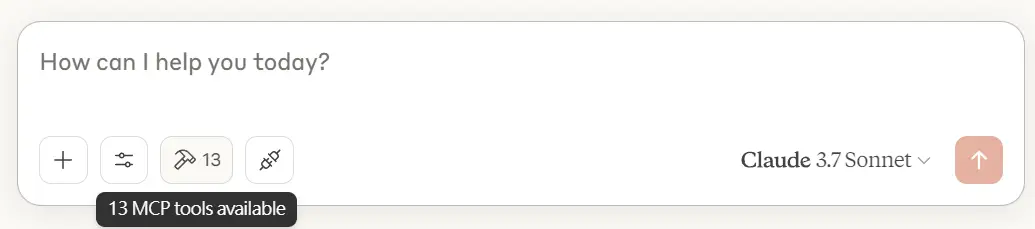
對話框裡會出現Hammer,代表現在有11種MCP工具可用,也可點開看細節。
-
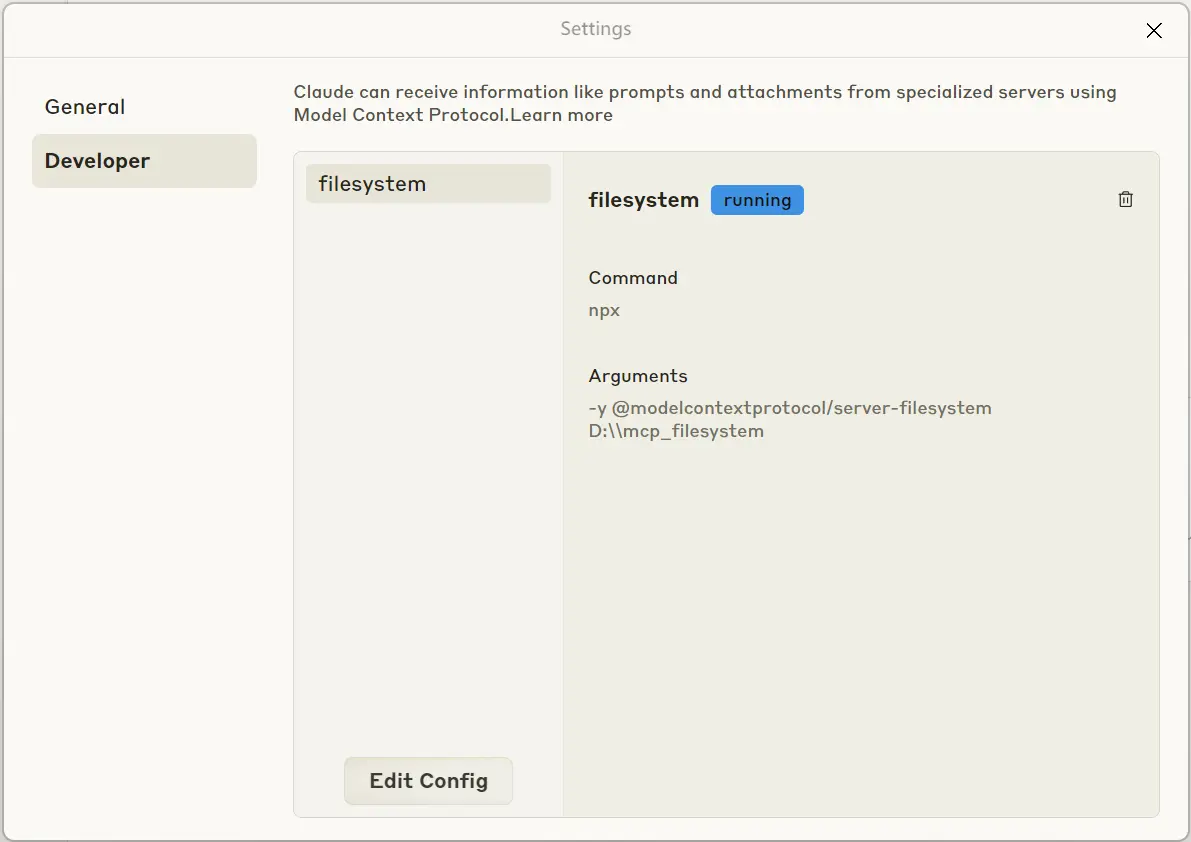
確認Claude Desktop中Filesystem MCP已正確安裝
從畫面左上的三>File>Settings。切換到Developer裡,點一下filesystem看到running代表有正常執行。
-
1️⃣ 測試Filesystem MCP - 列出可存取哪些資料夾
對話框裡輸入「你可以調用我哪些本地資料夾」,它會自己透過Filesystem的工具描述知道可用list_allowed_directories來瀏覽資料夾,在第一次會詢問授權,可按下「Allow for this chat」在本對話的後續過程都會同意、不再詢問。
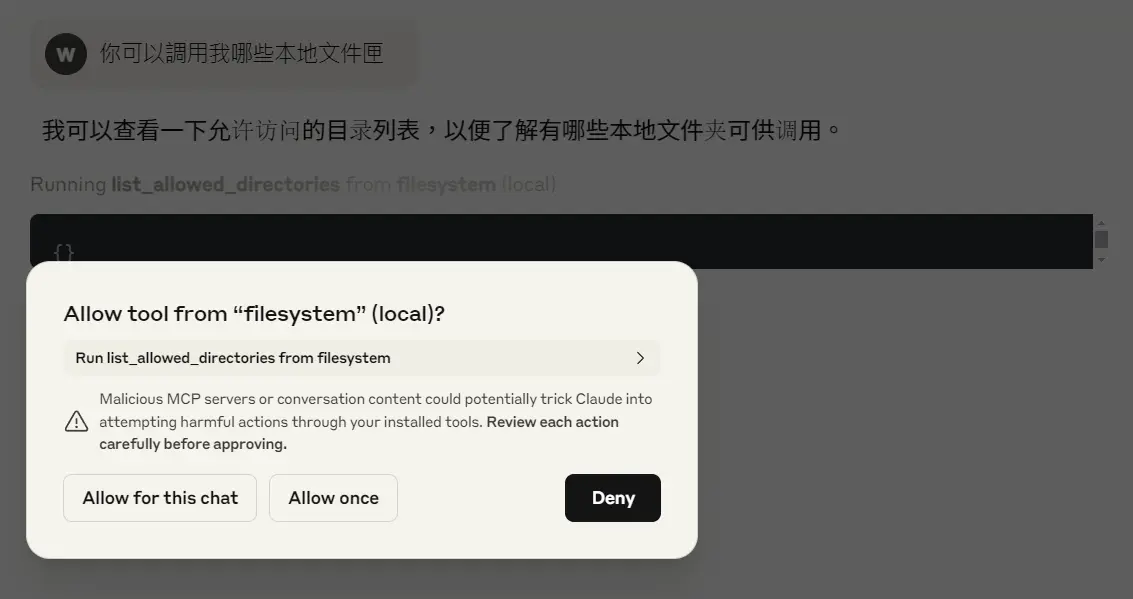
執行結果的上面會說明了list_allowed_directories工具,按向下箭頭可看到更多細節(MCP在背後做了什麼)。

-
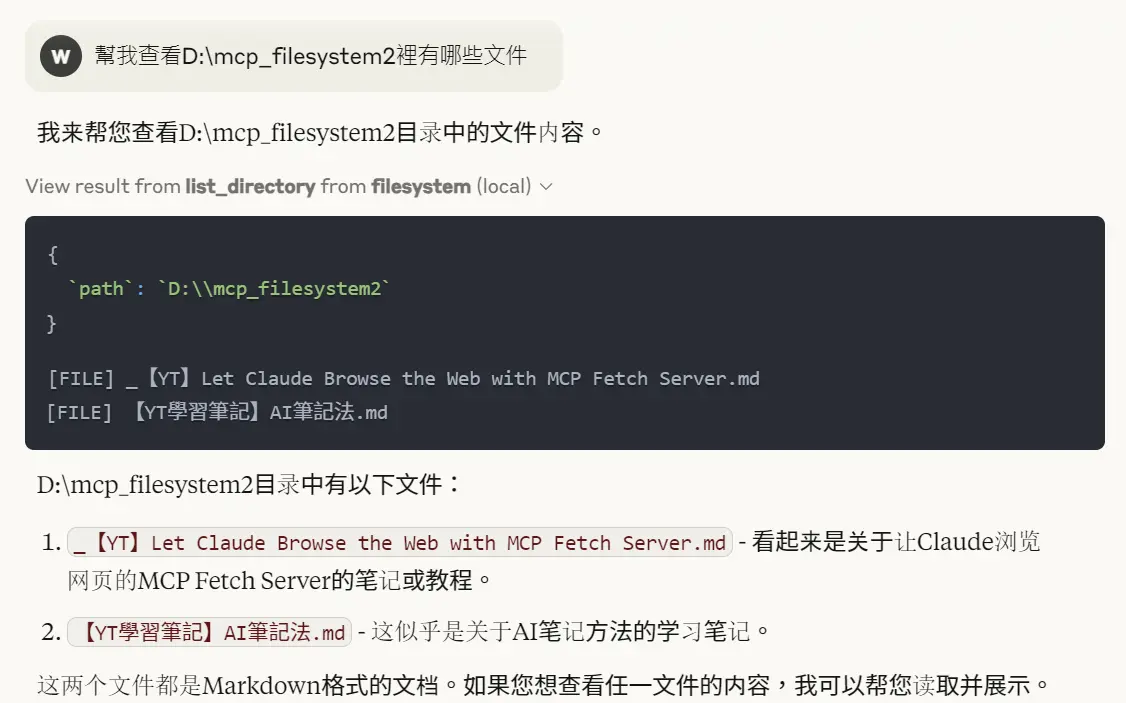
2️⃣ 測試Filesystem MCP - 針對指定資料夾列出有哪些檔案
口語詢問即可得到答案
-
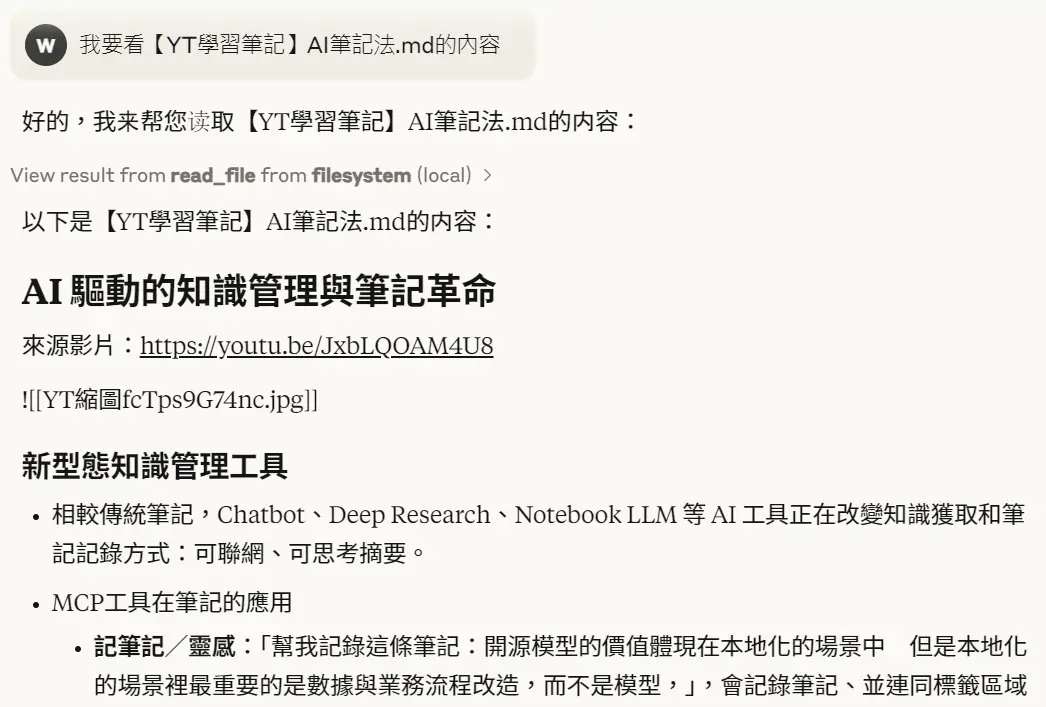
3️⃣ 測試Filesystem MCP - 查看指定檔案內容
口語詢問即可得到答案,這裡試過如果要讀PDF會失敗,可能因為超出Context的大小限制。
-
4️⃣ 測試Filesystem MCP - 查看指定檔案內容,並彙整成新文章
(三)使用Brave Search MCP:
- 在Claude中安裝配置
參考官方安裝說明>NPX,在claude_desktop_config.json中的配置參考如下。- 這個MCP Server需API Key,可先到brave官網申請API。
- 註冊後需先訂閱免費帳號,每個月2000次以下Request都免費
- 訂閱完畢到這裡可產生API Key,貼到claude_desktop_config.json中使用。
- 重開後可看到Hammer上原來11個工具,變成13個。因為增加了Brave Search MCP的brave_local_search、 brave_web_search等工具。
-
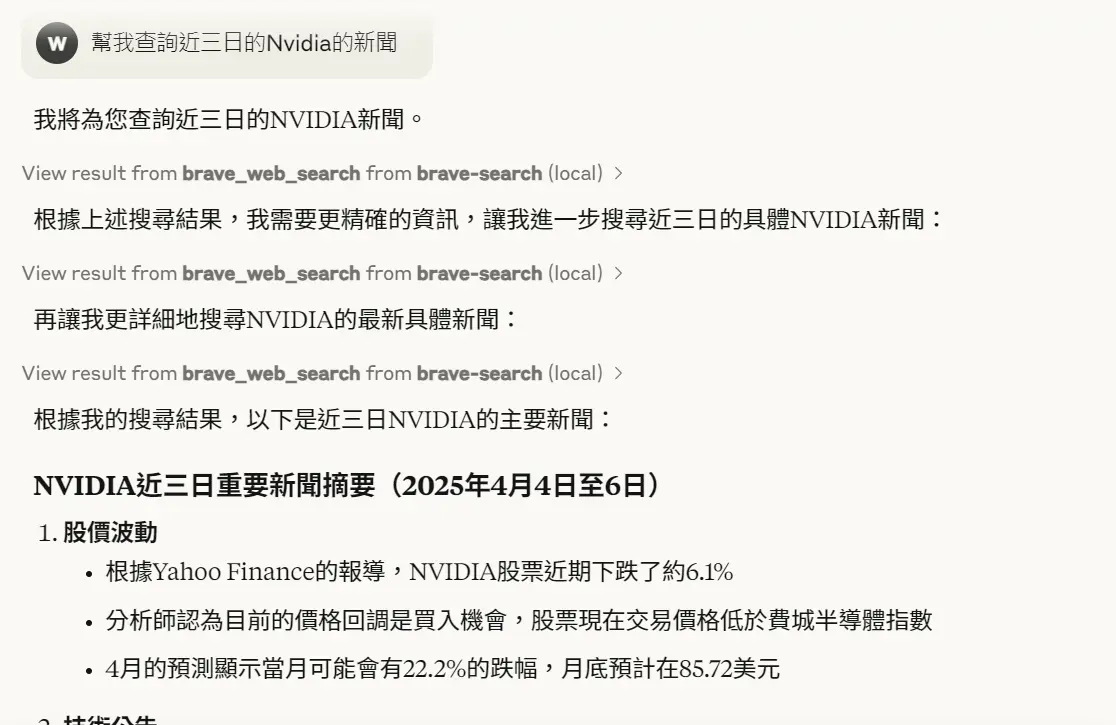
1️⃣ 測試Brave Search MCP - 查詢新聞
對話框裡輸入「幫我查詢近三日的Nvidia的新聞」,它會自己透過Brave Search的工具描述知道可用brave_web_search來瀏覽查詢新聞。且會自動判斷可能的需求,以不同關鍵字分次執行。自動查詢的語法三次分別為:- NVIDIA news last 3 days
- NVIDIA latest news April 4-6 2025
- NVIDIA stock price drop April 5 2025 news
-
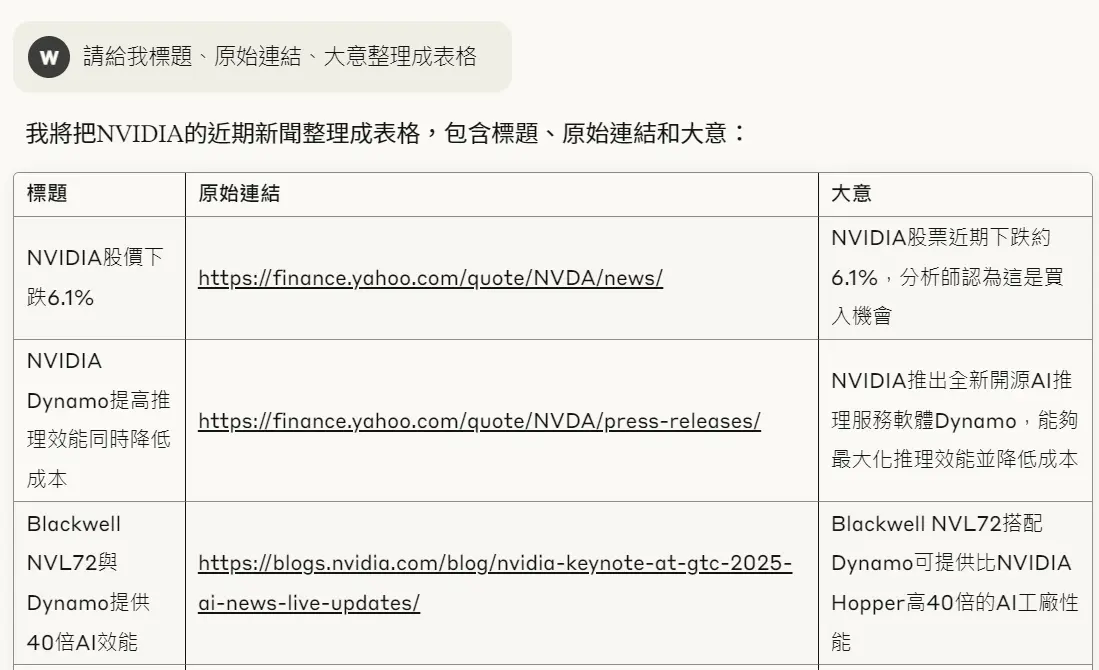
2️⃣ 測試Brave Search MCP - 查詢新聞並整理成表格
對話框裡輸入適合的指令即可獲得
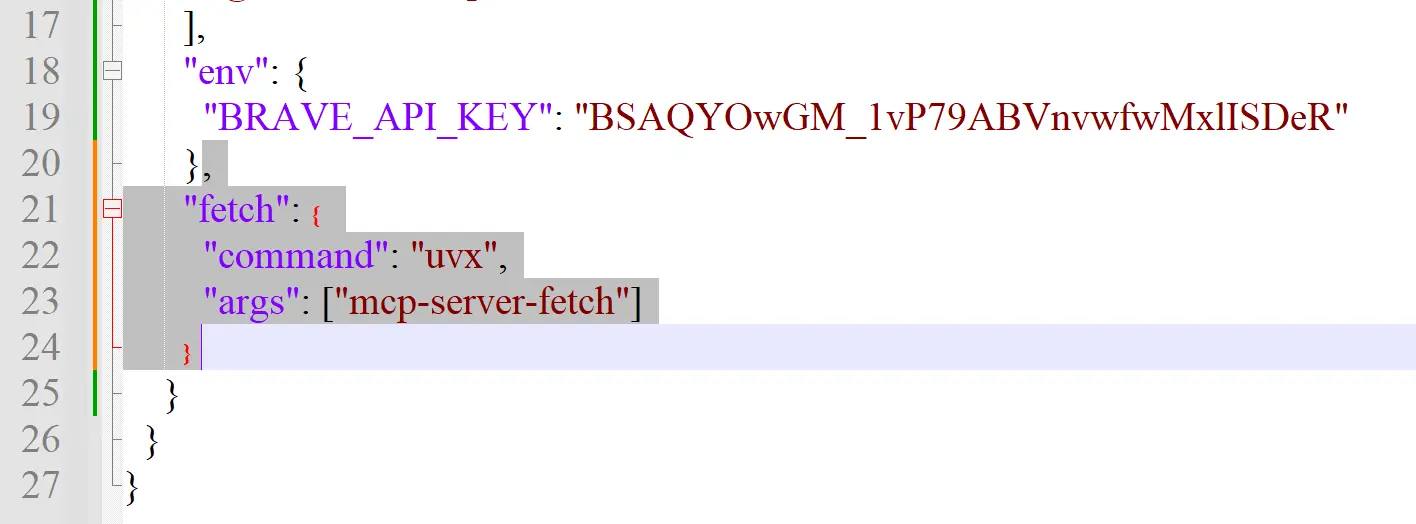
(四)使用Fecth MCP
依URL爬下網頁內容當作資訊來源。作為問答的服務
-
嚐試多次Fetch在Cline、Curosr、Claude安裝一直出現錯誤:MODULE_NOT_FOUND,且已參考別篇
-
透過uv/uvx進行安裝(另有pip方式),先安裝uv環境
- 透過uvx安裝MCP
- 配置claude_desktop_config.json