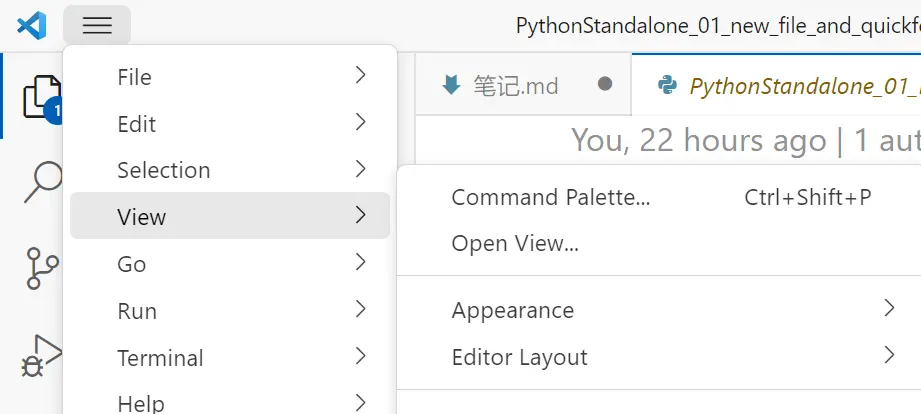
在VS code中,菜单-> View ->Command Palette (或者直接按快捷键Ctrl+Shift+P)

将打开一个菜单,在里面输入Juypter,点击Create: New Jupyter Notebook,建立一个新的Jupyter笔记本

点击右上角的“Select Kernel”,

选择我们之前建立conda env环境,我之前建立的叫"z",那么就选择z

Python Hello World
按照惯例,我们先写一个Hello World,在灰色的输入框(叫一个cell)里输入
print("Hello World")
然后按Shift+Enter,就可以执行这个cell里的代码了。正确情况下应该是会显示出Hello World。这就说明我们可以正确使用Python Jupyter环境了。

Zemax Hello World
我们可以再新建一个新笔记本:Create: New Jupyter Notebook,按Ctrl+s保存,文件名叫zemax_hello_world好了,通常会自动附上扩展名.ipynb,再选好Kernel
如果你已经按照前一课的要求,将随便一个zemax python demo程序复制到当前工作目录下,并且重命名为zosapi.py,那么就可以继续下面的操作。否则,请按照之前的要求重做。
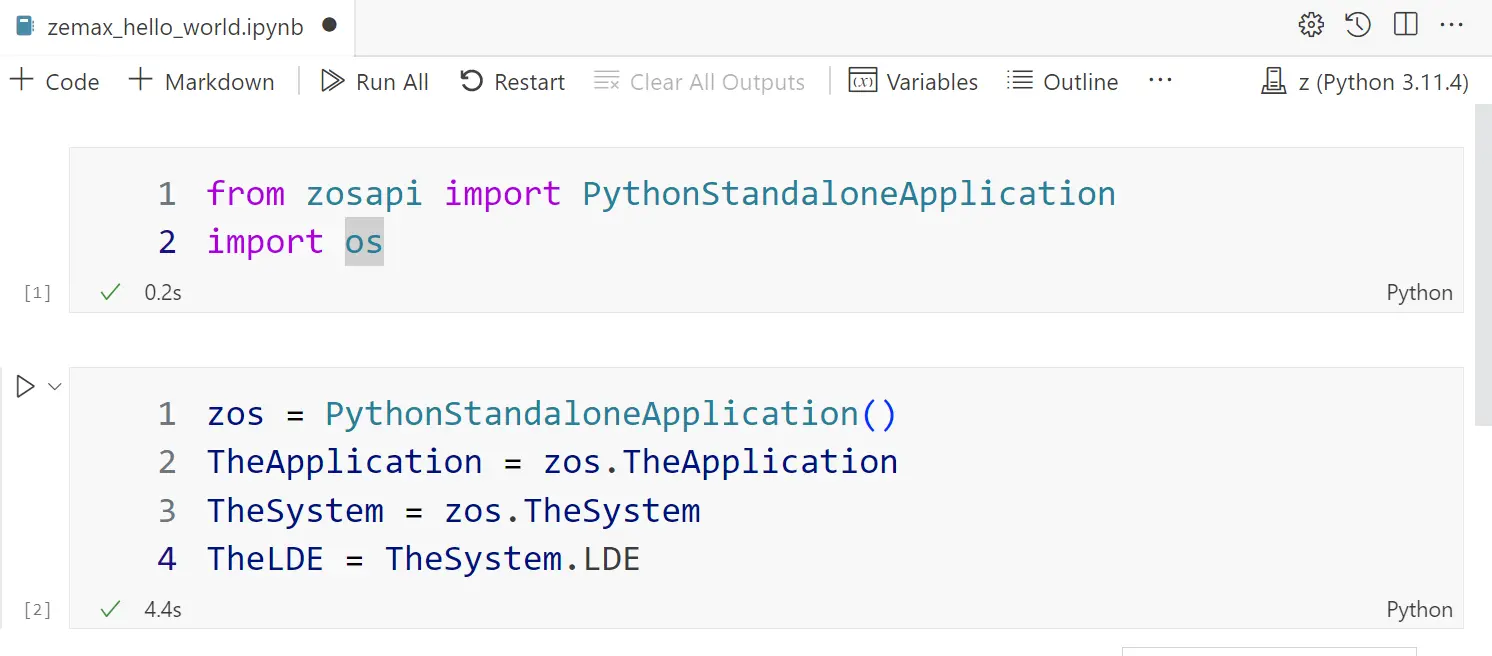
首先,我们要从zosapi.py中导入所需要的库PythonStandaloneApplication,另外,我们还需要python的标准库os
from zosapi import PythonStandaloneApplication
import os
按shift+enter,如果没什么问题,就会在该cell左下角出现一个绿色的√,如果有问题,请重新看前一课,有可能某个包或者zosapi没有设定好

然后我们在下面的cell里输入以下代码:
zos = PythonStandaloneApplication()
TheApplication = zos.TheApplication
TheSystem = zos.TheSystem
TheLDE = TheSystem.LDE
按shift+enter,这次可能会运行好几秒,但不会有什么输出。

zos = PythonStandaloneApplication()是说我们建立了一个独立的python-zemax程序,用python控制zemax除了独立程序,还可以有交互式插件的形式。本教程集中于讲解独立程序,因为我们最终的目的是用python自动控制zemax去跑成千上万个设计,我睡觉它工作那种,我可懒得和它交互。TheApplication = zos.TheApplicationTheSystem = zos.TheSystem这是常规,这个动作相当于你打开了一个zemax程序,注意,如果你使用的zemax有打开数量的限制,比如只能同时打开两个zemax程序,那么python会占据其中的一个,如果你已经同时打开了两个zemax程序,那么这里运行会报错。如果报错,请关闭多余的zemax,并且点vscode上的“Restart”按钮,重新运行内核,并且从from zosapi那里开始依次运行各个cell。TheLDE = TheSystem.LDE如果你用过更早版本的zemax,你可能会知道LDE就是Lens Data Editor,镜头数据编辑器。接下来我们就可以通过操作TheLDE来对镜头数据进行各种编辑了。
我们继续输入下面的代码
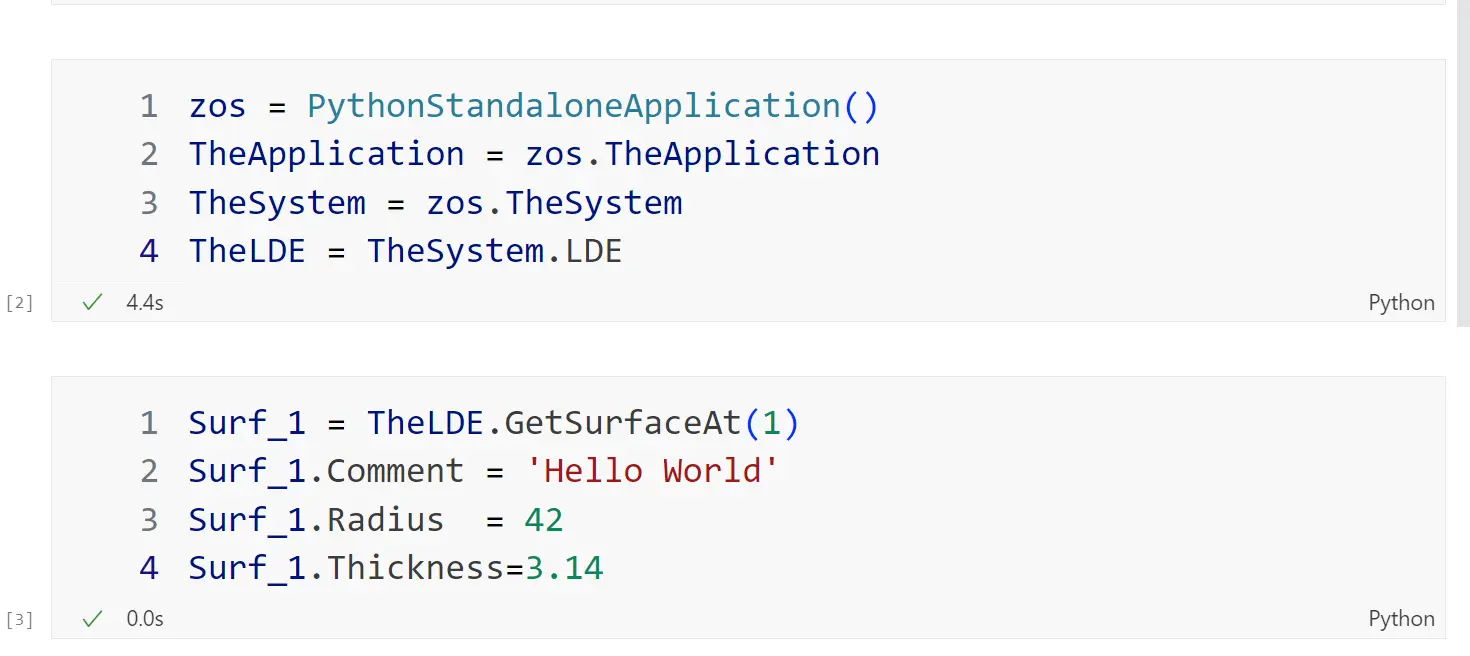
Surf_1 = TheLDE.GetSurfaceAt(1)
Surf_1.Comment = 'Hello World'
Surf_1.Radius  = 42
Surf_1.Thickness=3.14
按shift+enter,这次的运行速度很快,并没有什么输出

对于一个新建空白的zemax页面,会默认有3个面:
-
0: object:物体面,光线发出的位置
-
1: stop:一个光学面
-
2: image:成像面

-
Surf_1 = TheLDE.GetSurfaceAt(1)我们从LDE里取得一个面,编号是1, -
然后我们可以修改这个面的各个参数,比如注释(Comment), 曲率半径(Radius), 厚度(Thickness)
最后,我们输入下面的代码:
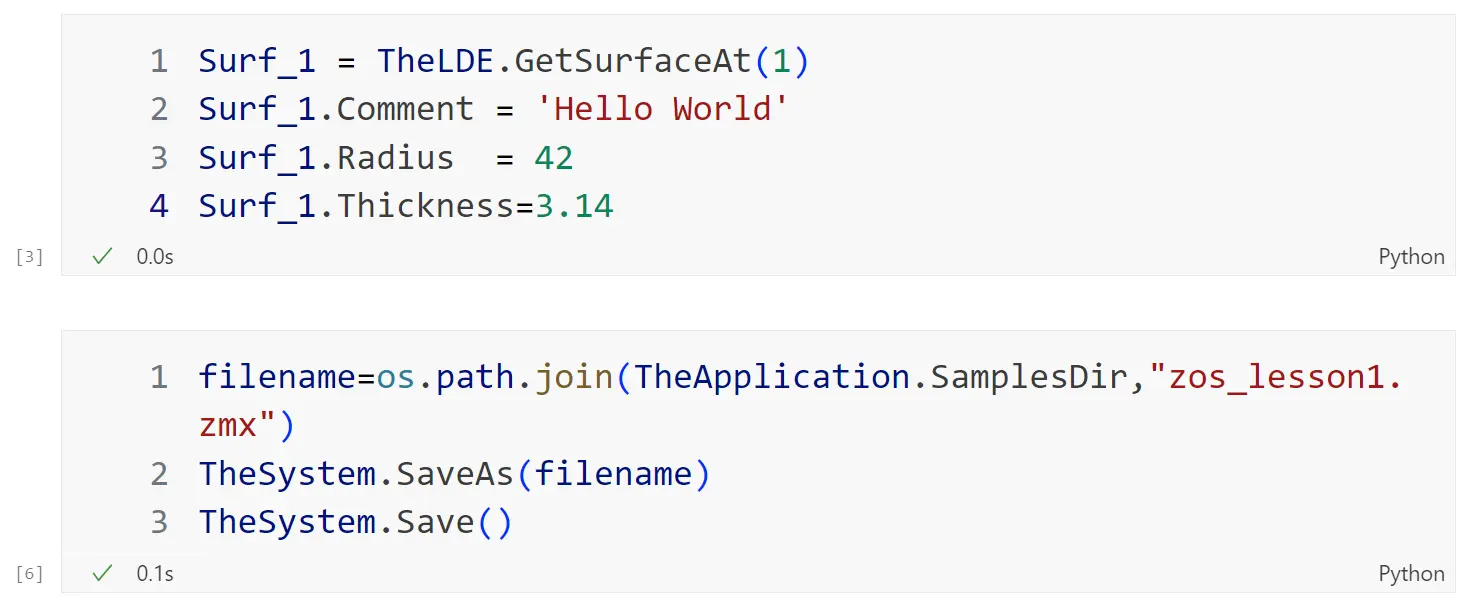
filename=os.path.join(TheApplication.SamplesDir,"zos_lesson1.zmx")
TheSystem.SaveAs(filename)
TheSystem.Save()
按shift+enter

这一小段代码是说,我想保存刚才做的操作,文件名是zos_lesson1.zmx, 保存的路径是zemax的Samples文件夹,一般是在你的\Documents\Zemax\Samples目录下。
接下来,我们可以用资源管理器看看Samples文件夹之下应该有两个zos_lesson1的文件,如果找不到,可以按修改日期倒序排序再看看。

随便双击其中一个打开,可以看到我们已经将1号光学面的一些参数改变了。


