
Every author has their unique preference for editors. Therefore, the best writing experience should be using one's own preferred editor.
For instance, Quaily favors Obsidian, which is why it officially supports an Obsidian plugin.
Using the Obsidian Plugin
To install the plugin, follow these steps:
- Open the Community Plugins section in the Obsidian application.
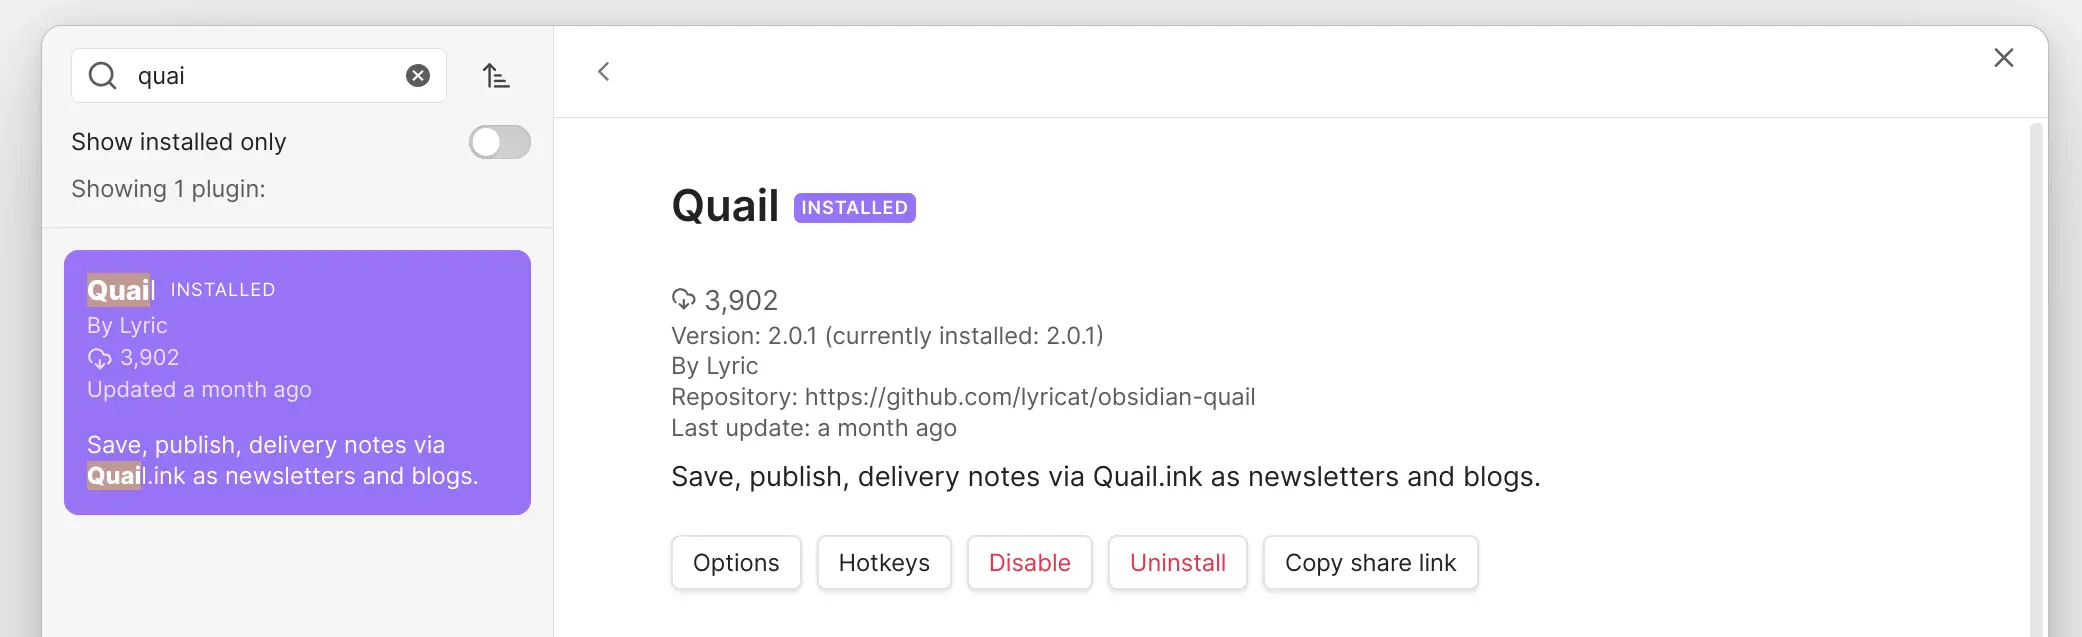
- Search for "quail" and find the Obsidian Quaily plugin, then install it.
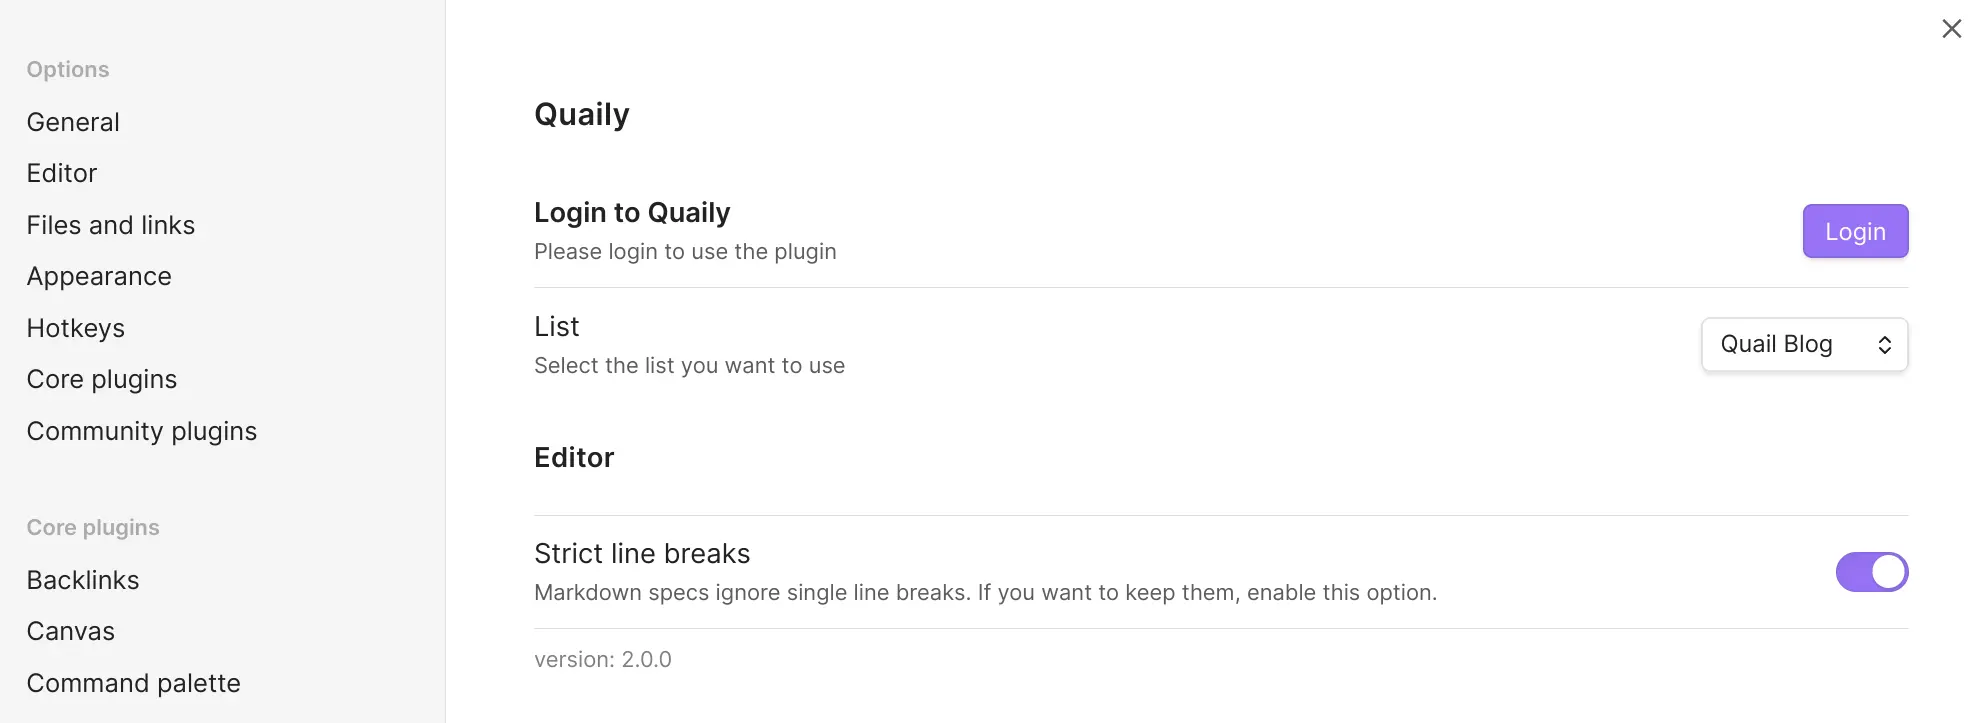
Enter the Quaily plugin configuration and click Login to sign in to Quaily

You may need to restart Obsidian to ensure all changes take effect.
Once installed, press Ctrl + P to invoke the Obsidian command and type "quail" to list the supported commands:
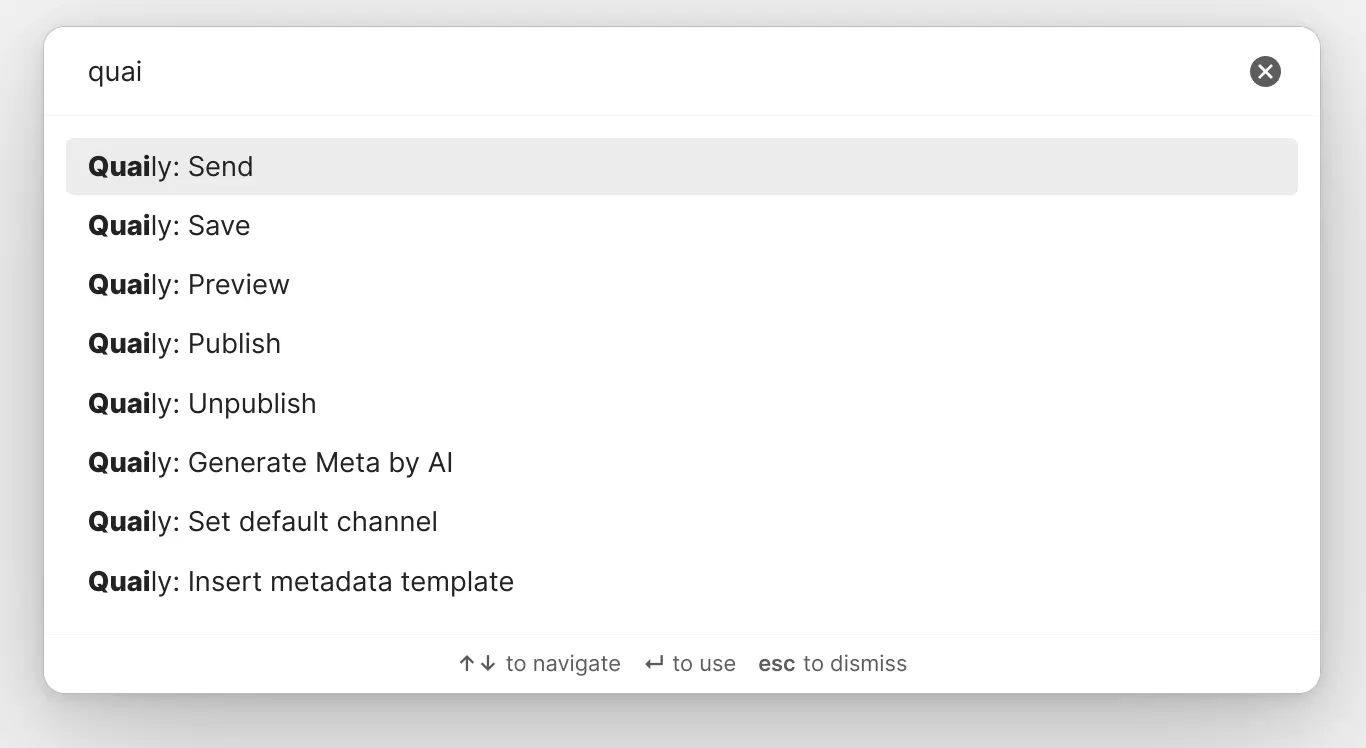
These commands are: Save, Push, Publish, Unpublish, Generate AI Summary, and Insert Metadata Template.
What about other editors?
Currently, Quaily only supports the Obsidian plugin. If you use other editors, you can use Quail-CLI to publish content.
For instructions on using Quail-CLI, please refer to this article.