
Before earning money on Quaily, the following preparation work needs to be completed.
For the account settings, you need to:
- Add payee information: including name, nationality, tax residence, country, city, postal code, address, etc. This information will be encrypted and stored, and will not be made public.
- Set up payment method: Currently, Wise, PayPal, and Stripe (Japan) are supported.
For the channel settings, you need to:
- Add merchant information: According to specific commercial transaction laws, there is an obligation to disclose valid information when providing paid content on Quaily, so this part of the content will be public.
- Set channel membership prices: You can set quarterly and annual prices separately, in US dollars.
- Insert a paywall.
Let's begin.
1. Add Payee Information
In Payout Settings, you can add or modify payee information:
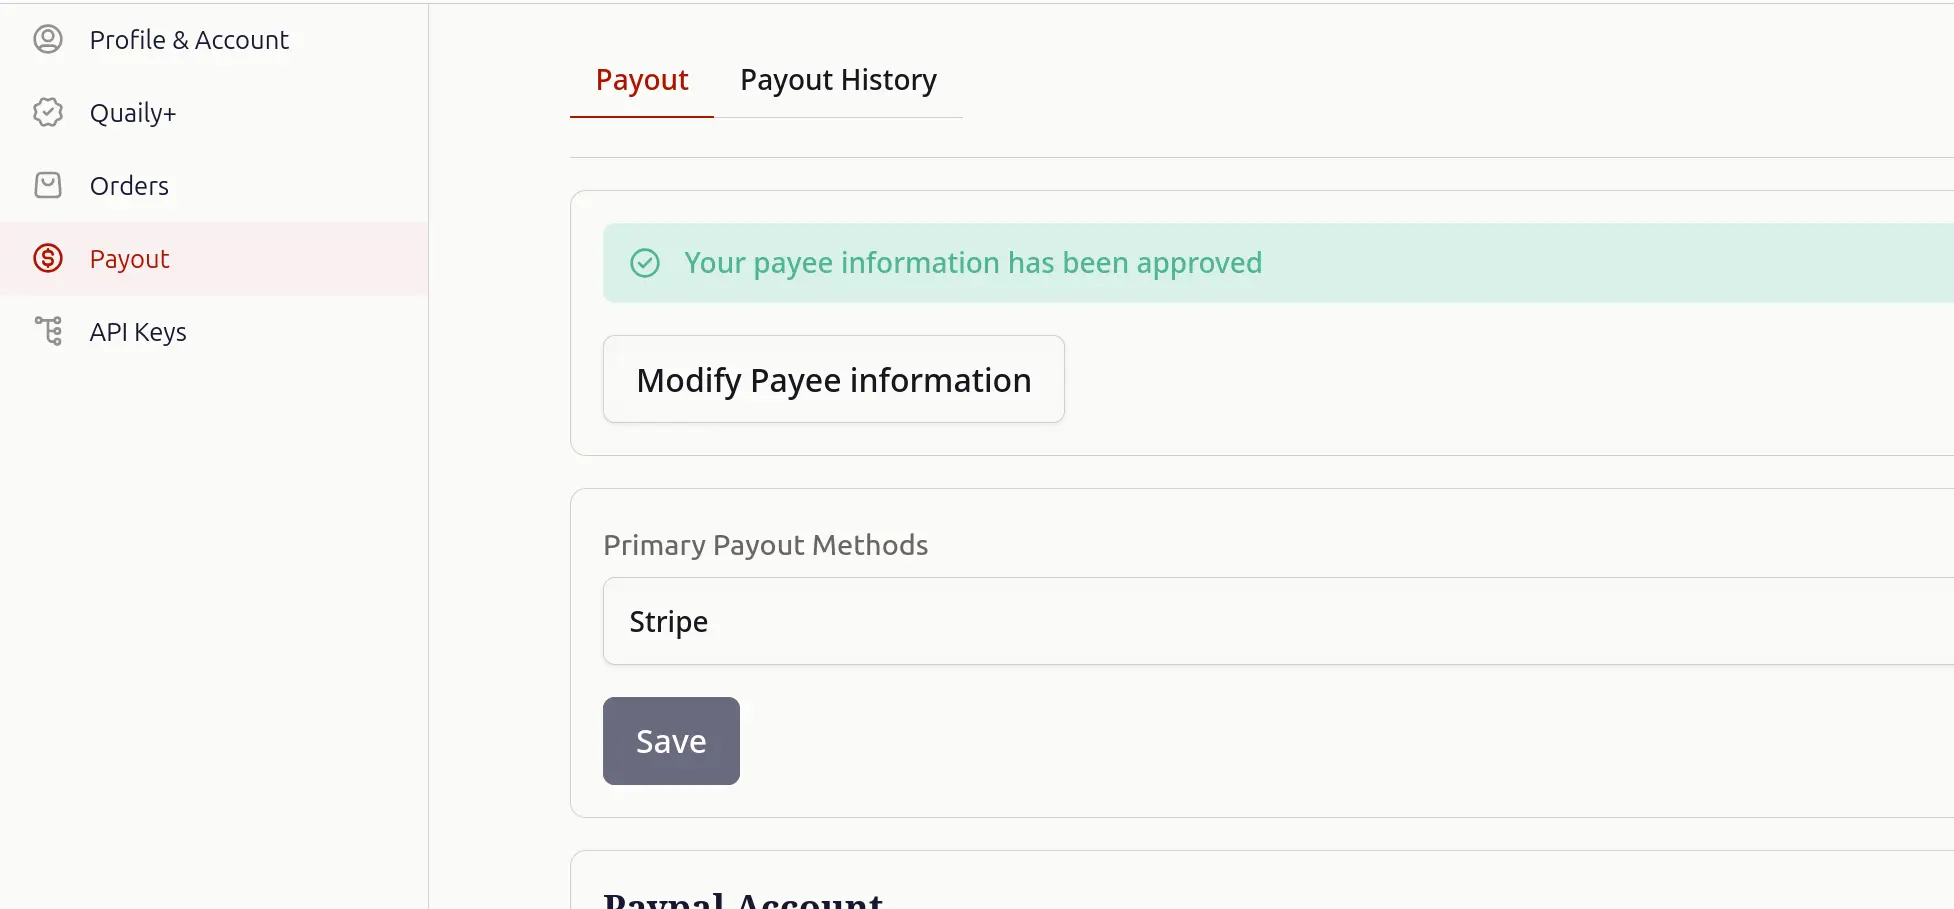
Please fill in the form with accurate information. Quaily will review it within 3 working days. You can receive payments normally only after the review is passed. If the review fails, please modify according to the prompts and resubmit.
2. Set Up Payment Method
In Payout Settings, you can set up your payment method. Currently, Quaily supports the following 4 payment methods:
- Stripe (Japan): Only available for creators residing in Japan.
- Wise: Supports global creators, please fill in your Wise account or payment link.
- PayPal: Supports global creators, please fill in your PayPal account email.
- Cryptocurrency: Supports Ethereum, Base, and BSC chains, please fill in or bind your EVM wallet address.
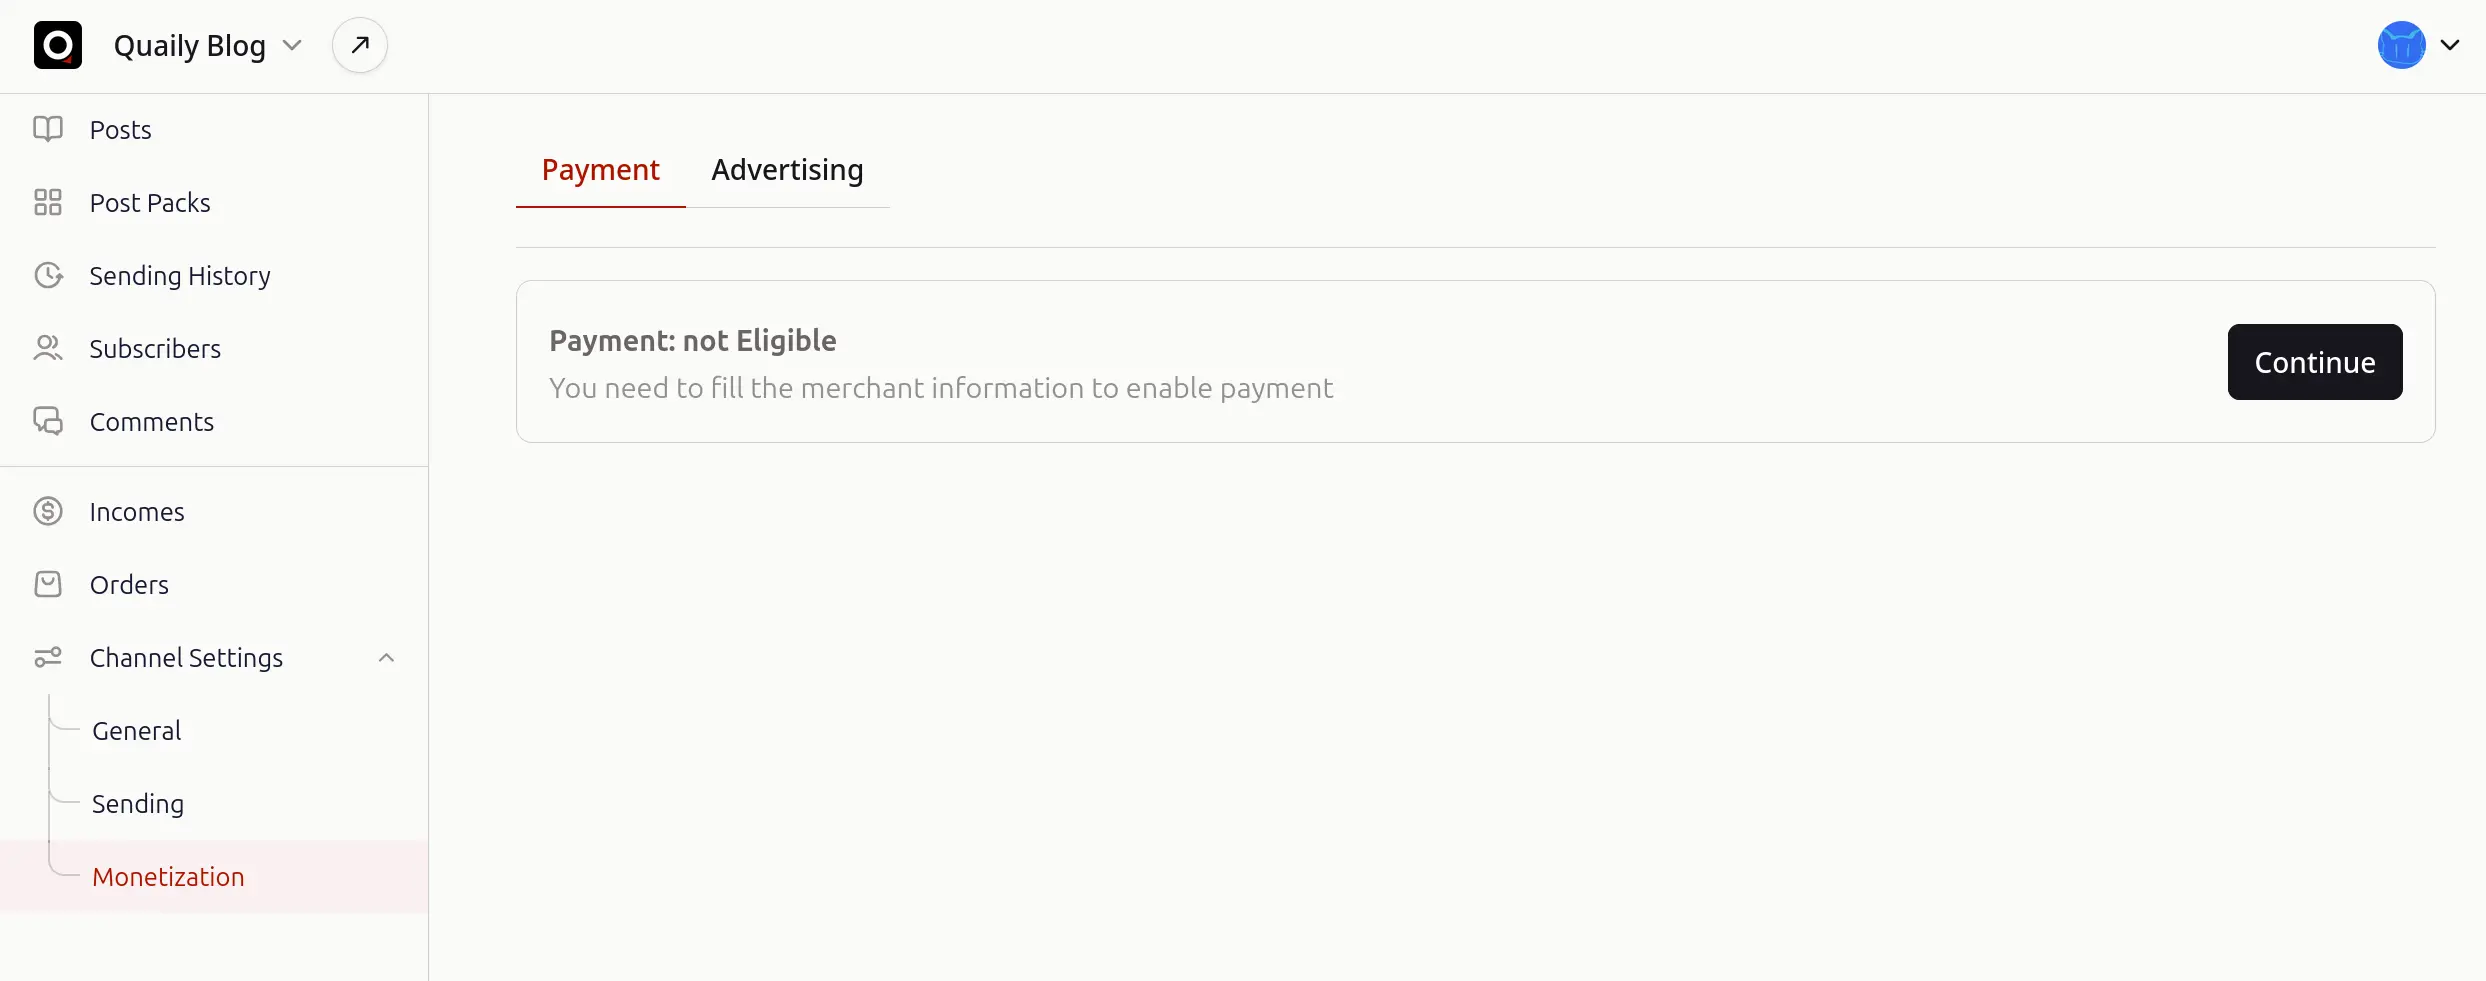
3. Add Merchant Information
In Channel Settings - Monetization, fill in the merchant information as required.
Here you can choose between individual merchant or business merchant.
- For individual merchants, you need to provide a display name, terms of service, and contact email.
- For business merchants, you need to provide company information, including company name, address, terms of service, privacy policy, and contact email.
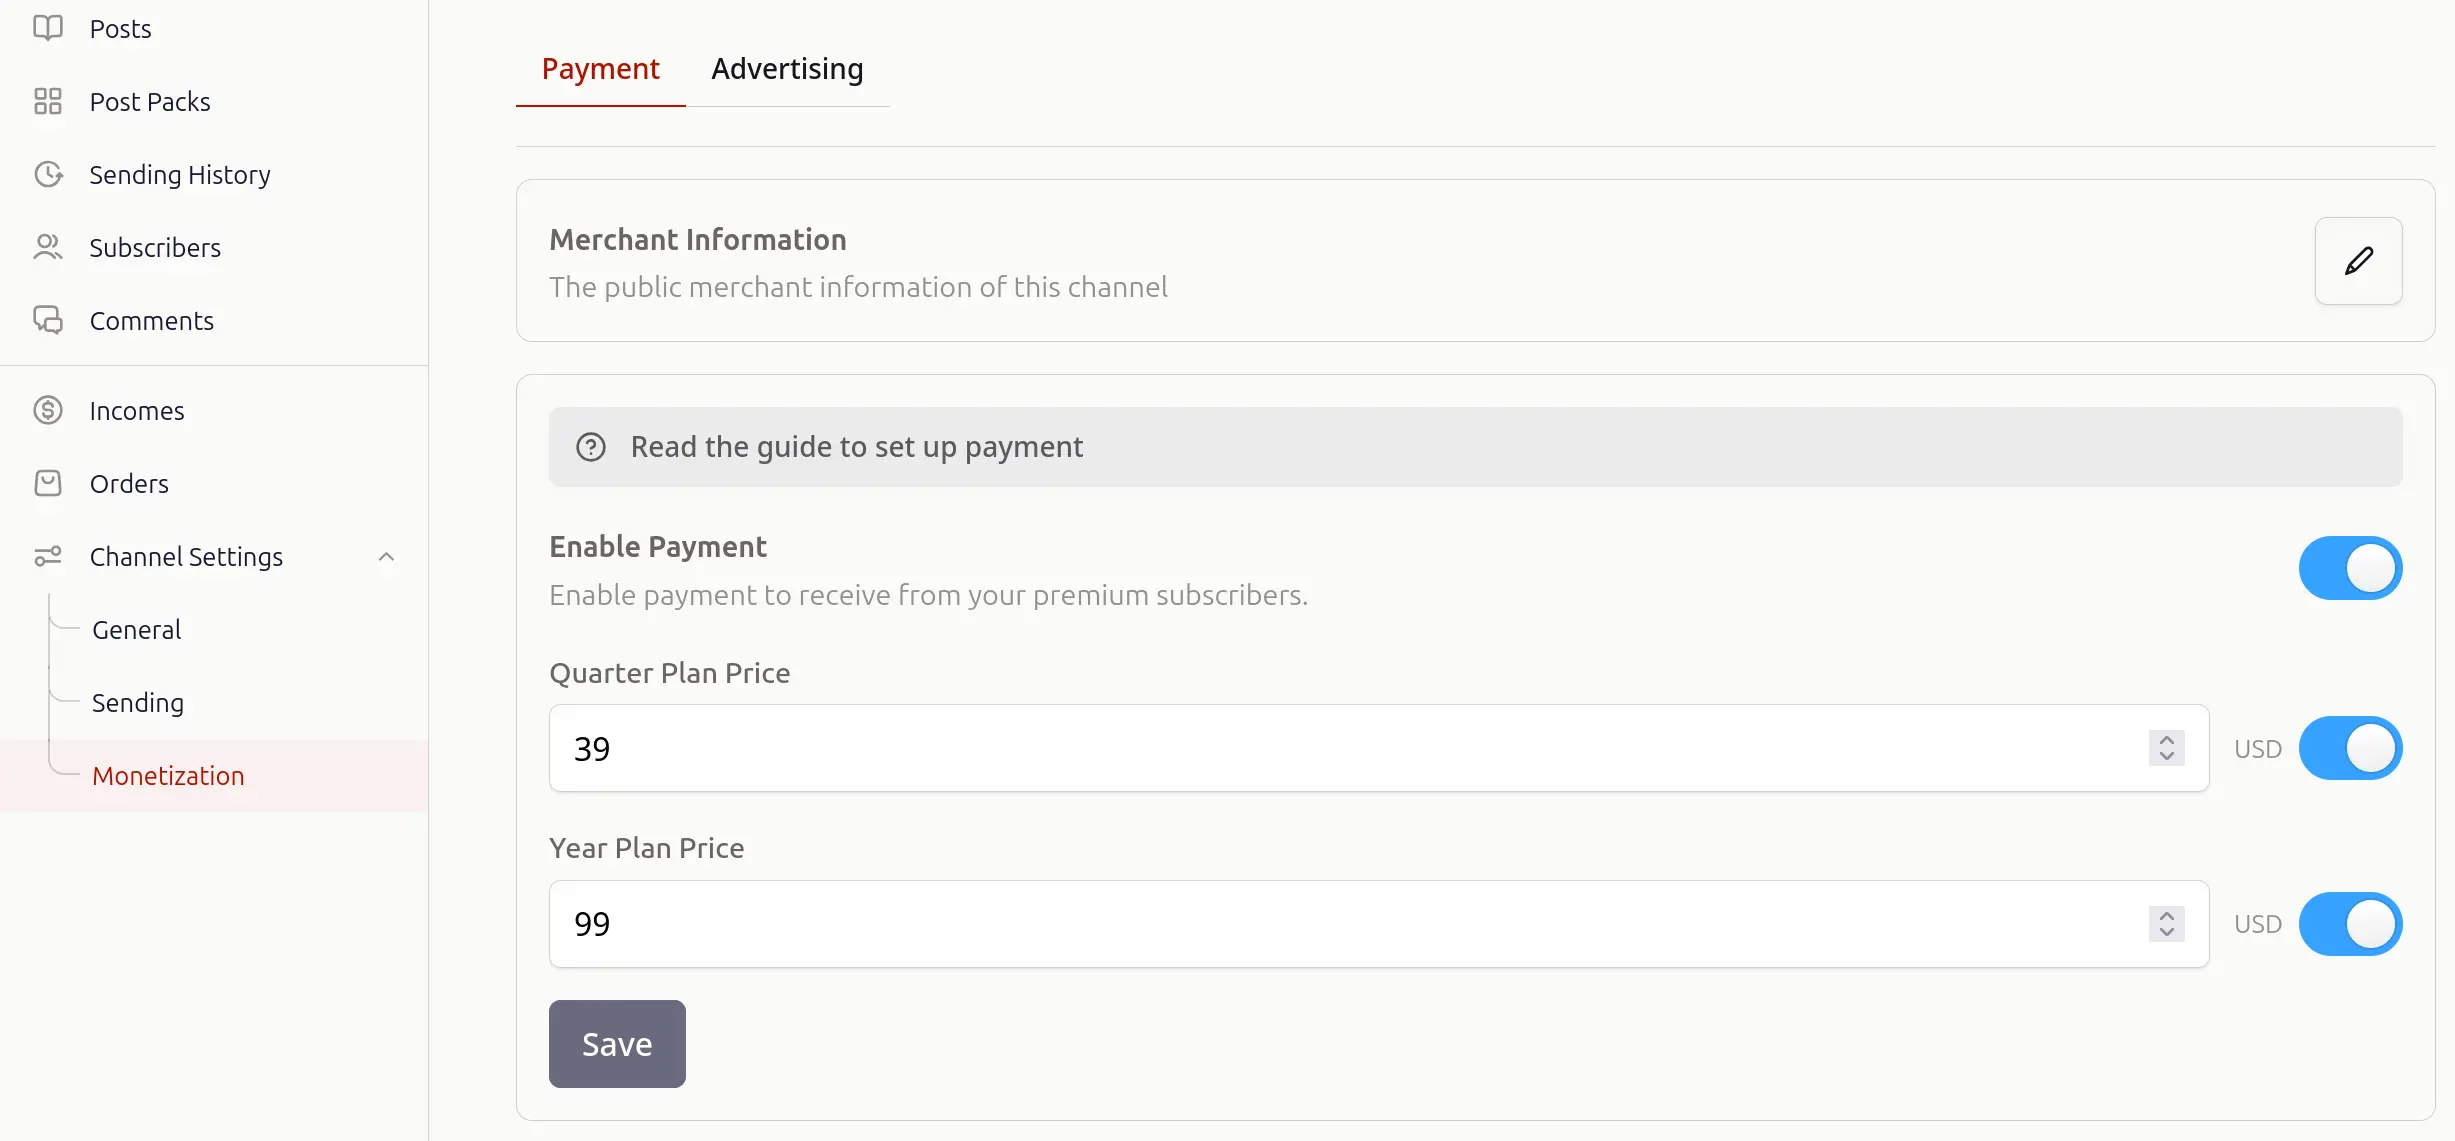
4. Set Channel Membership Prices
After filling in the merchant information, you can set prices.
Quaily allows you to set two prices, for quarterly and annual payments, priced in US dollars.
If you enabled cryptocurrency as a payment method in step 2, you can also set cryptocurrency prices here.
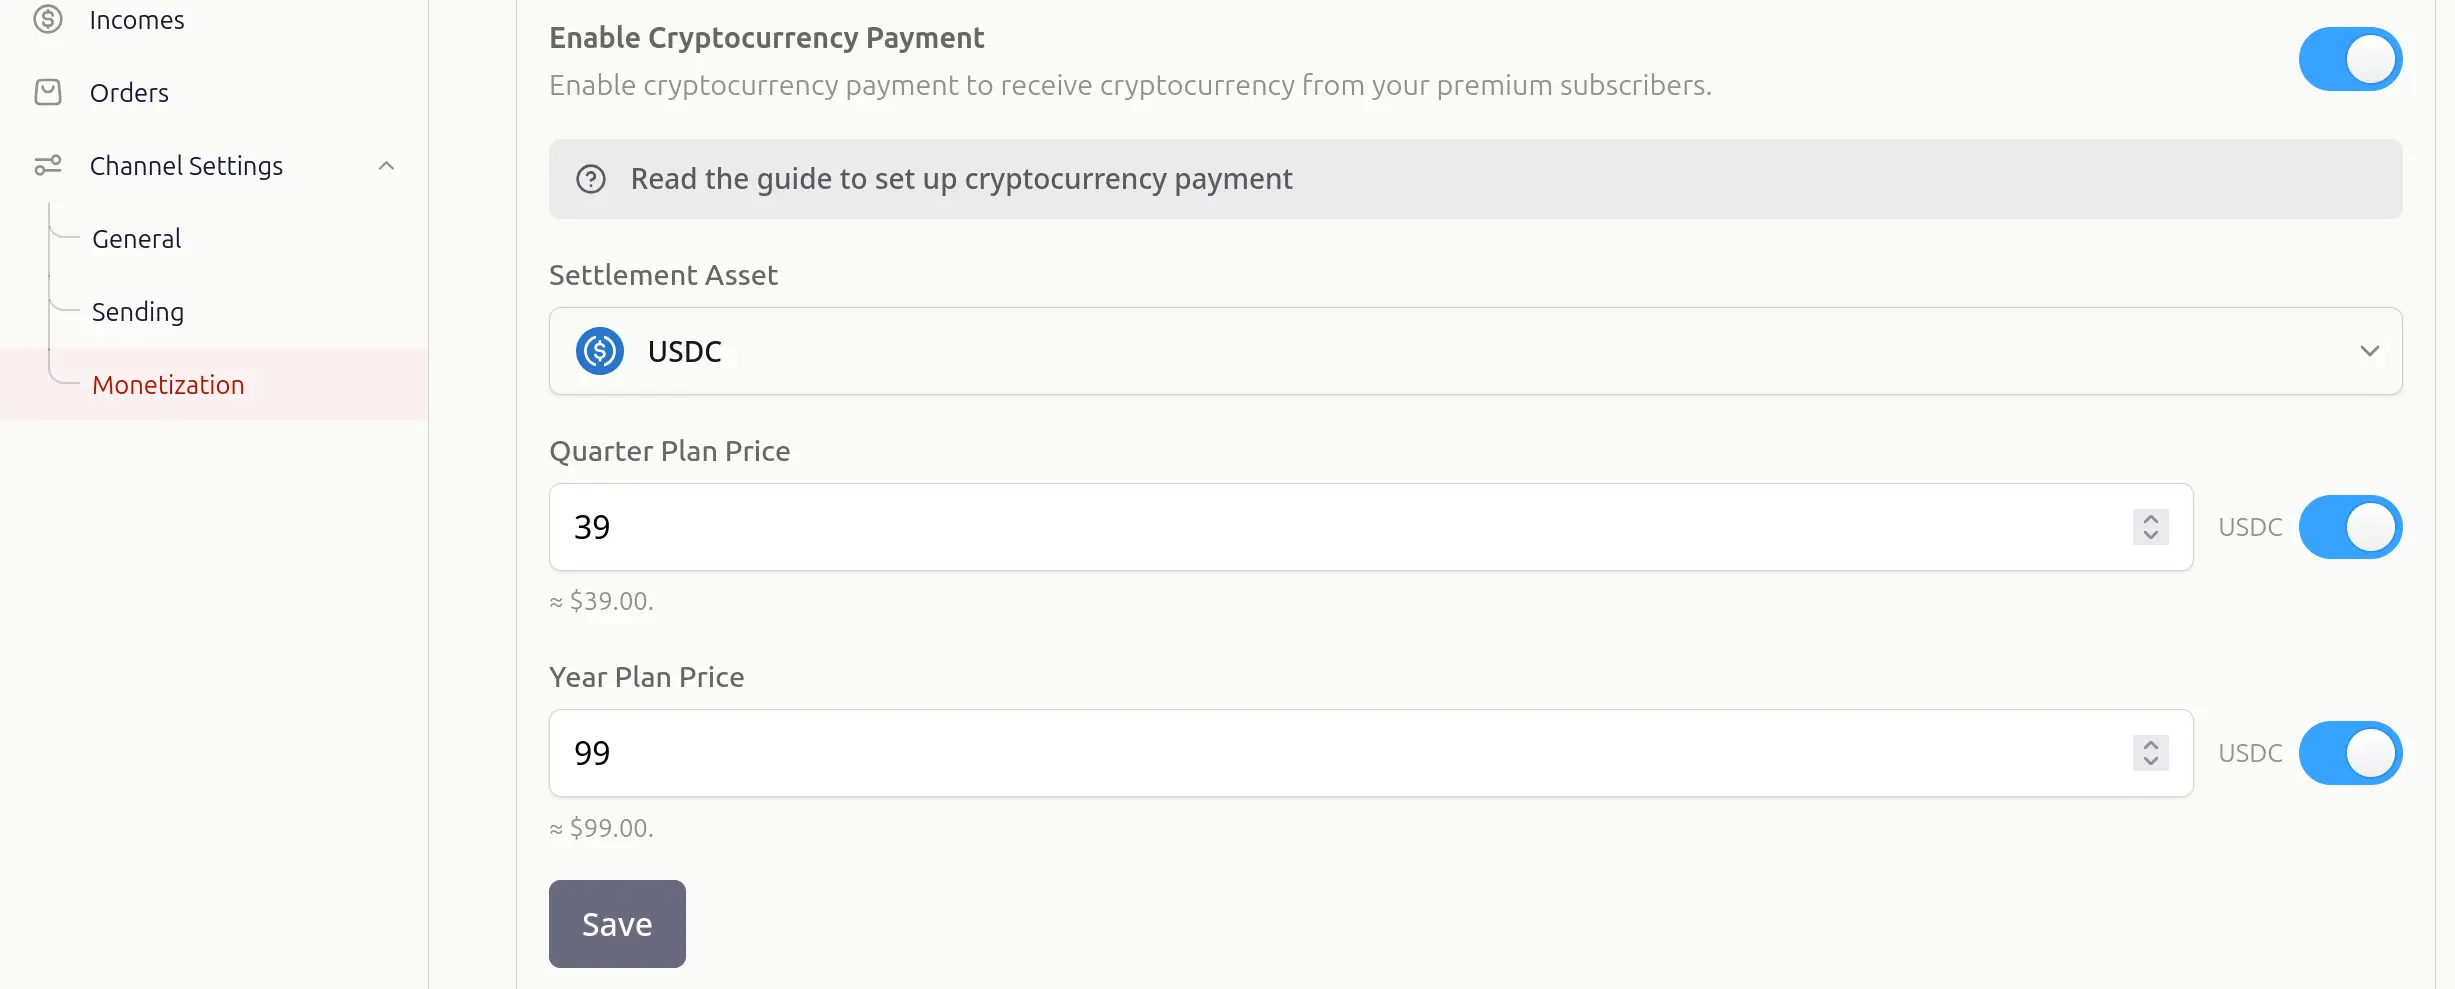
Currently, Quaily supports USDT and USDC stablecoins.
5. Insert Paywall
After completing the above settings, you can publish paid articles.
When editing any article, there's a button to insert a paywall in the toolbar. First, position the cursor where you want to distinguish paid content, then:
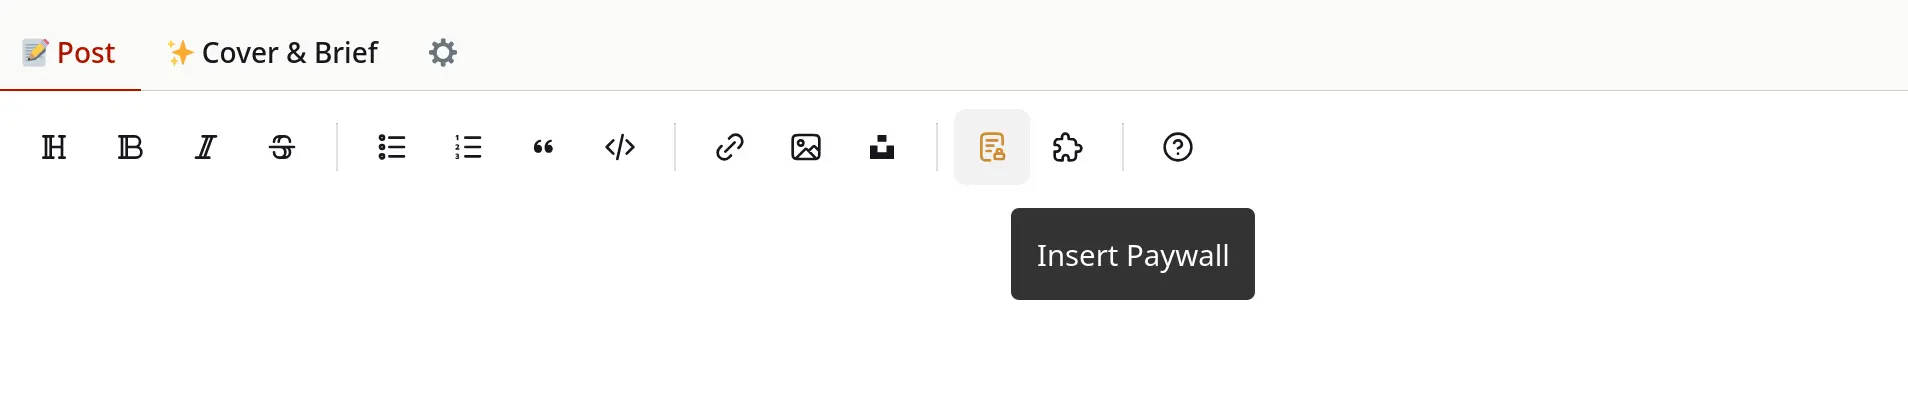
After clicking the button, a paywall symbol will be inserted at the cursor position in the article:
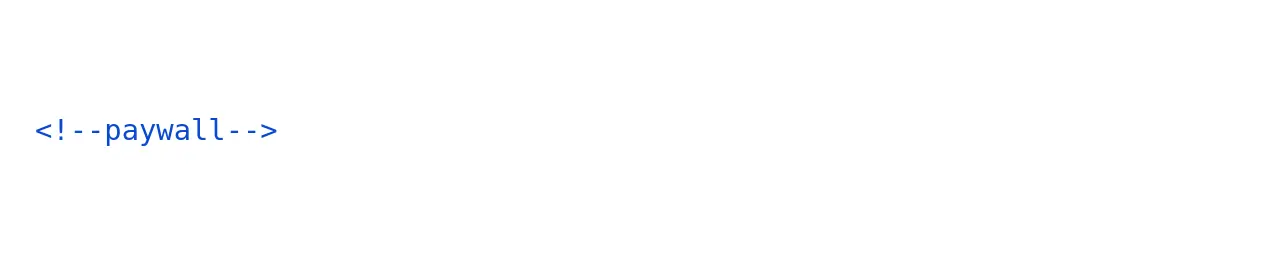
The content above this symbol is free to read, while the content below this separator is only accessible with payment. When unpaid readers browse to this position, they will see the following prompt:
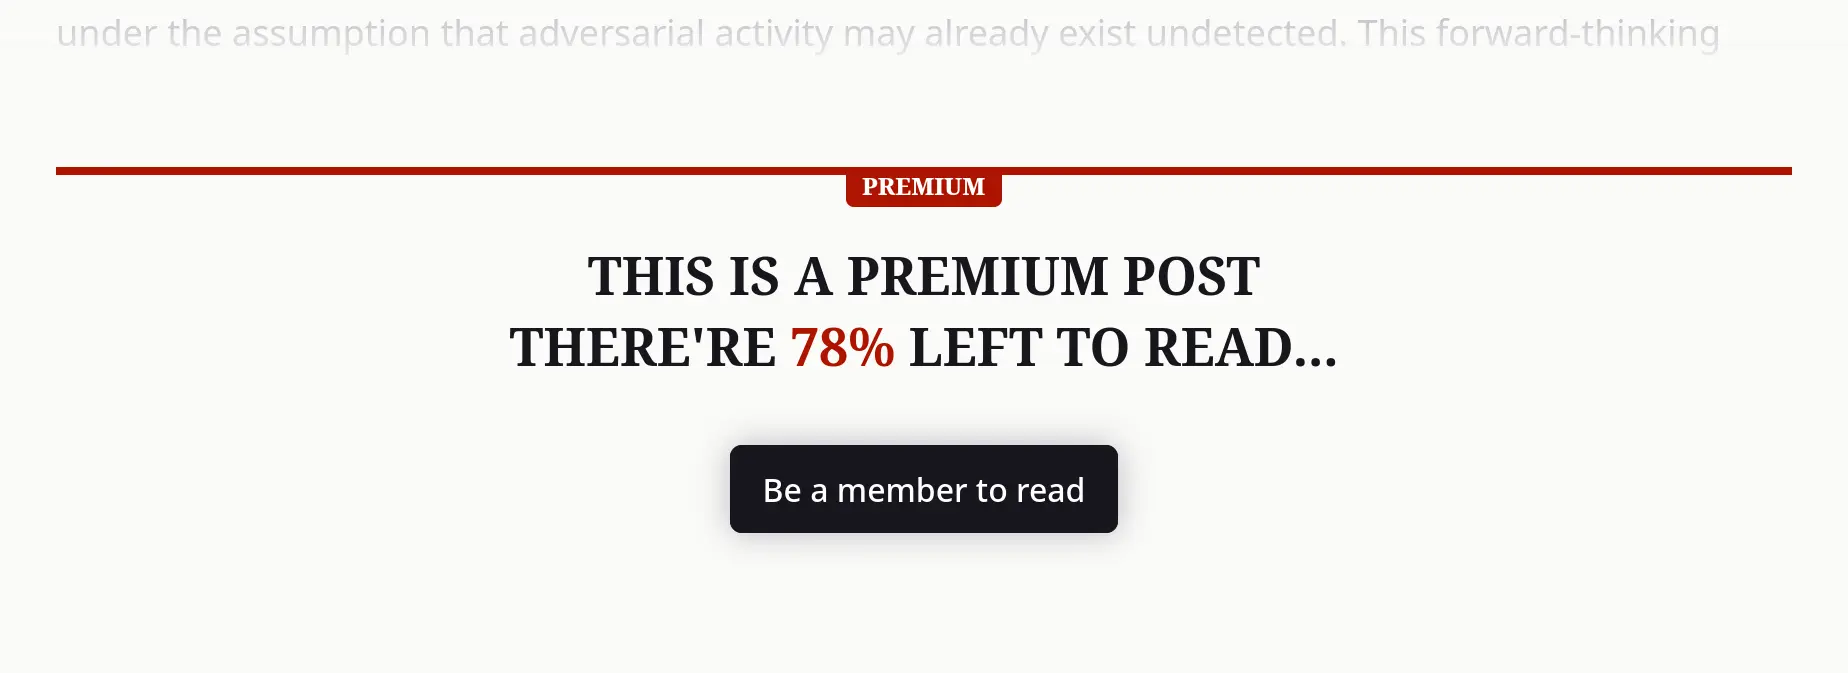
If readers complete the payment as prompted, they will see the paid content.
These are the steps to earn money on Quaily.