SourceGit is an open-source Git client available on GitHub and provides an alternative to SourceTree, SmartGit, and TortoiseGit. Its primary advantages are that it is free and easy to use. SourceGit is compatible with Windows, macOS, and Linux.
If you prefer not to use SourceTree or TortoiseGit (which integrates with the file explorer), consider SourceGit—it should be a better choice than SourceTree.
Installation
- Download and install it from the SourceGit GitHub Releases page.
- Quickly install with the command:
winget install sourcegit
1. Initial Configuration
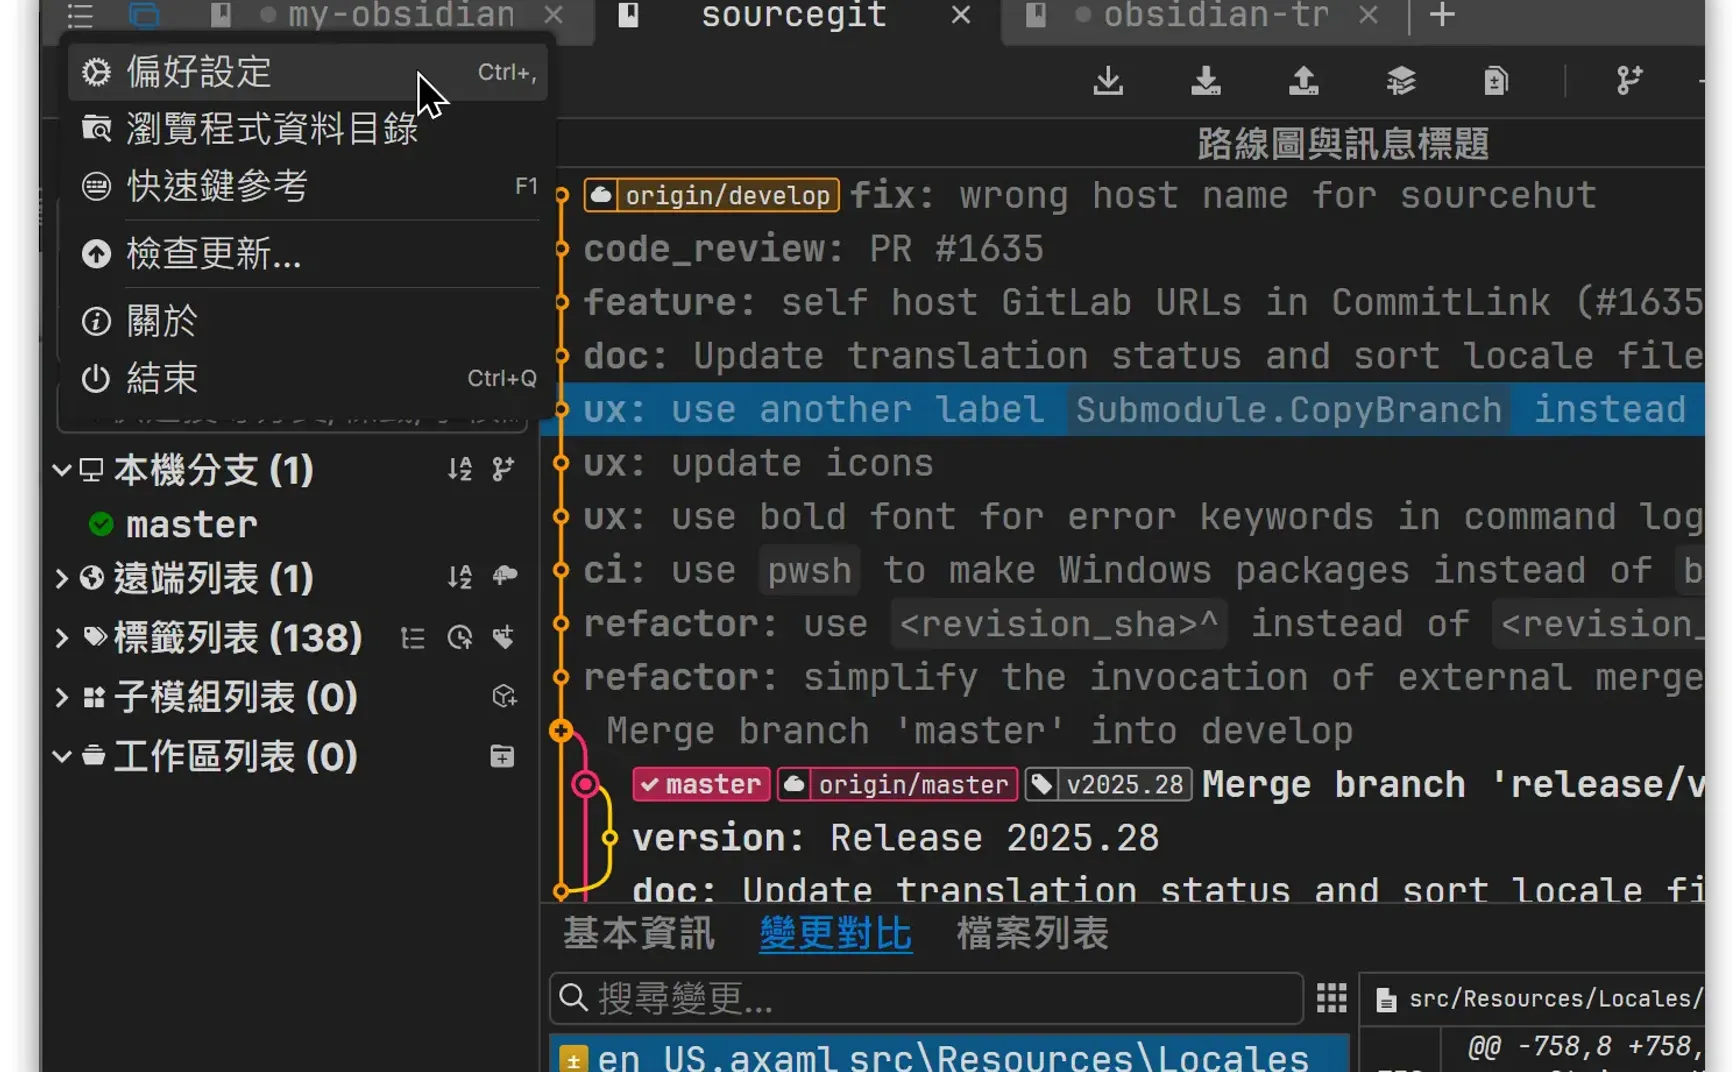
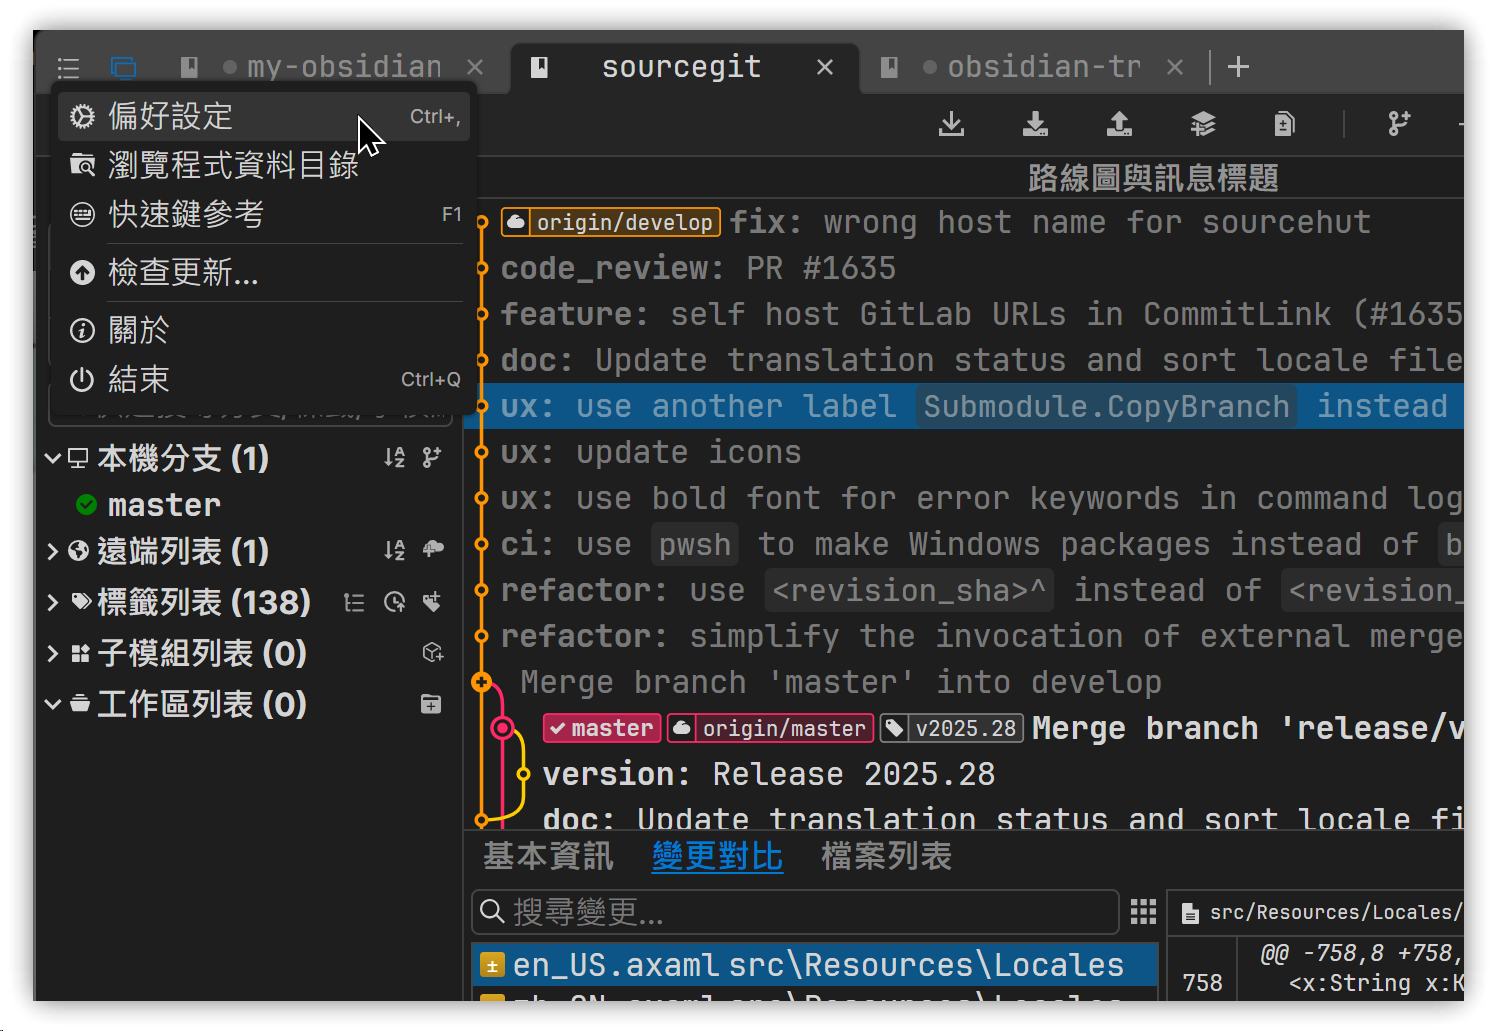
▼ Click the three horizontal lines in the top left corner to access the Preferences and set up your initial configuration:
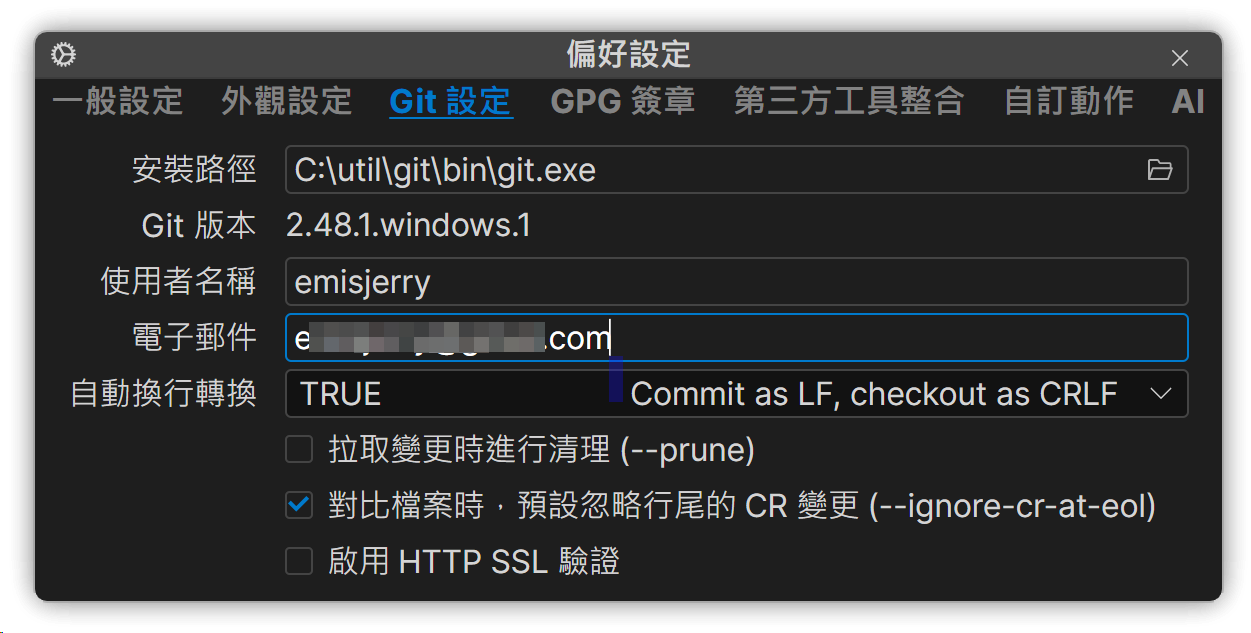
▼ Specify the path for git.exe:
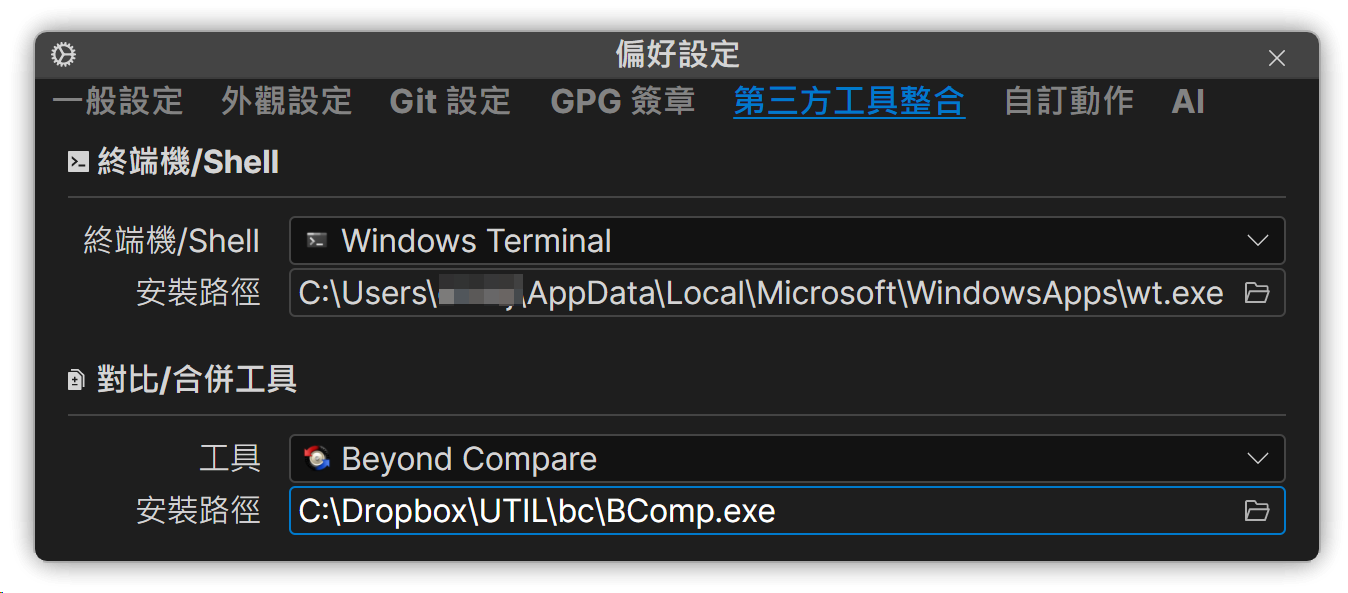
▼ Input external tools:
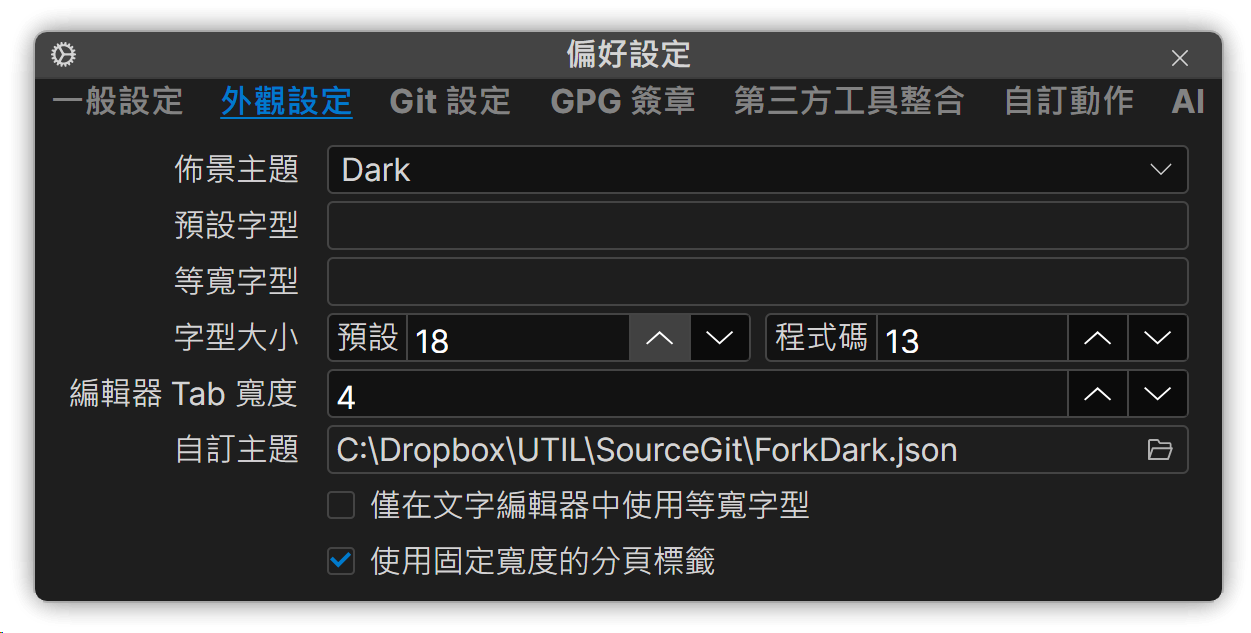
▼ Appearance Settings:
Customize the appearance using different themes, which can be downloaded from sourcegit-scm/sourcegit-theme: Custom Themes for SourceGit.
2. Adding a Repository
Follow these steps to add a repository:
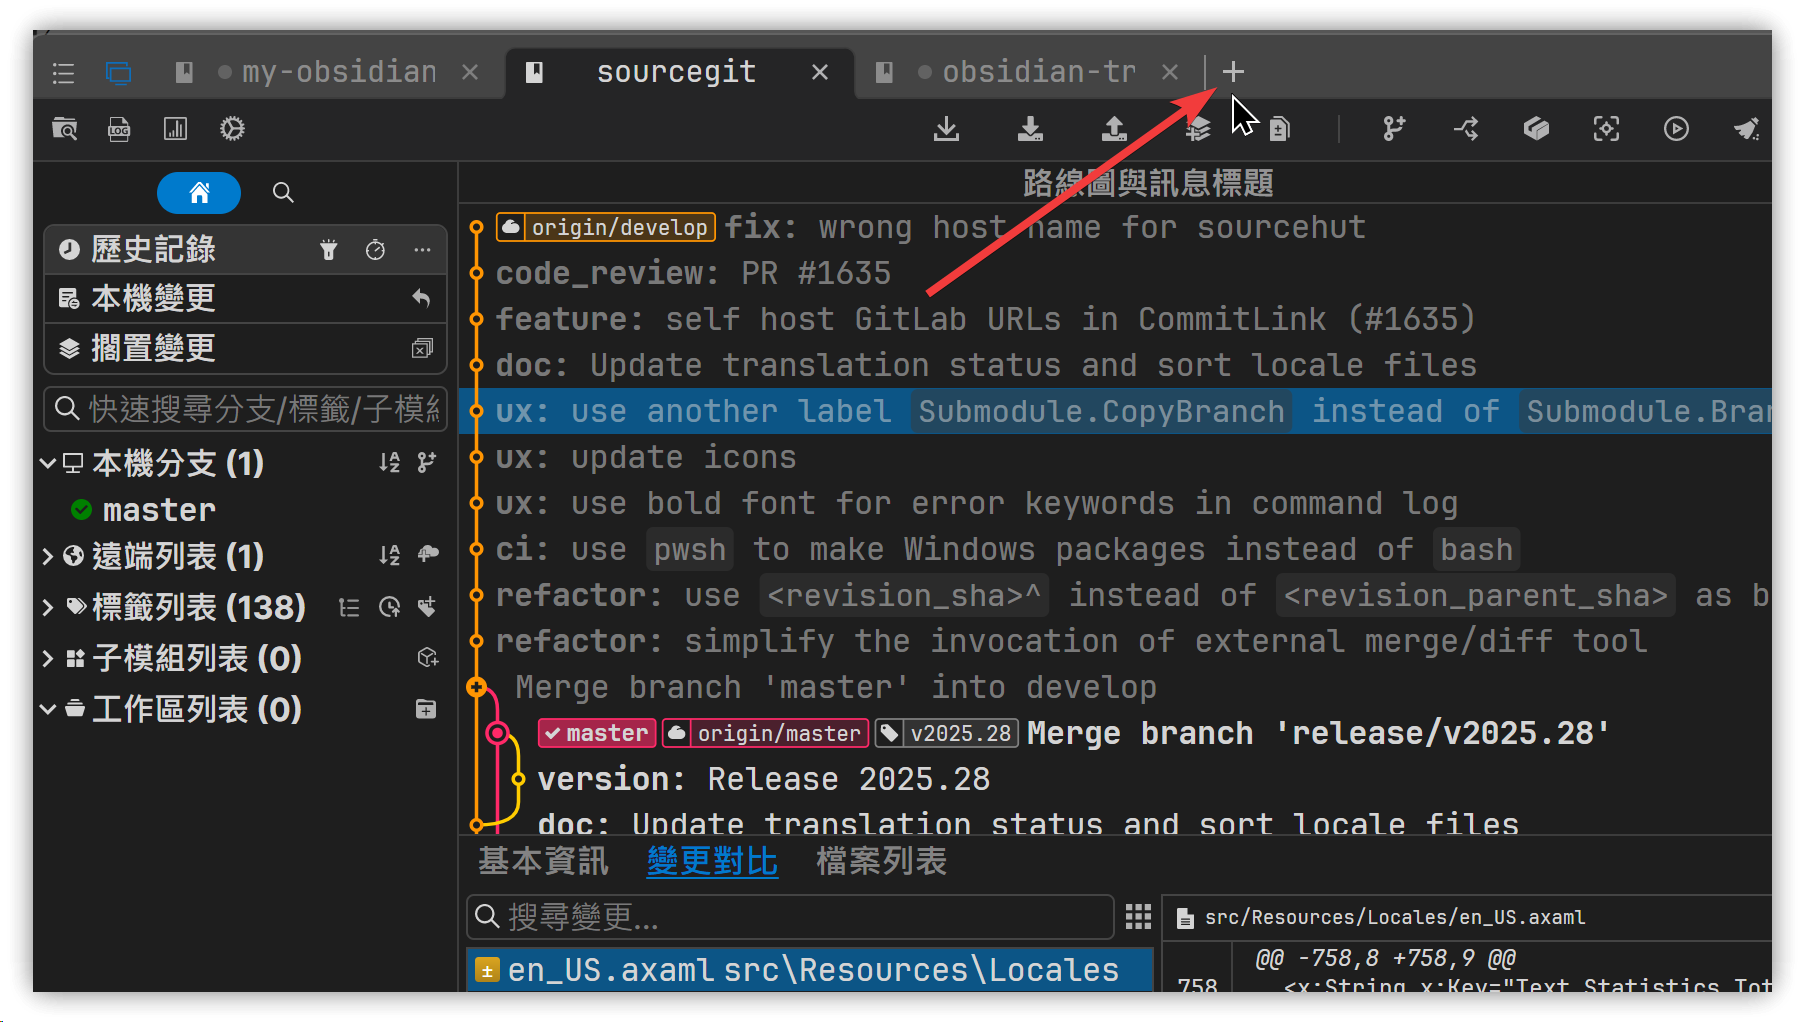
-
After launching SourceGit, click the plus icon at the top to add a new repository.
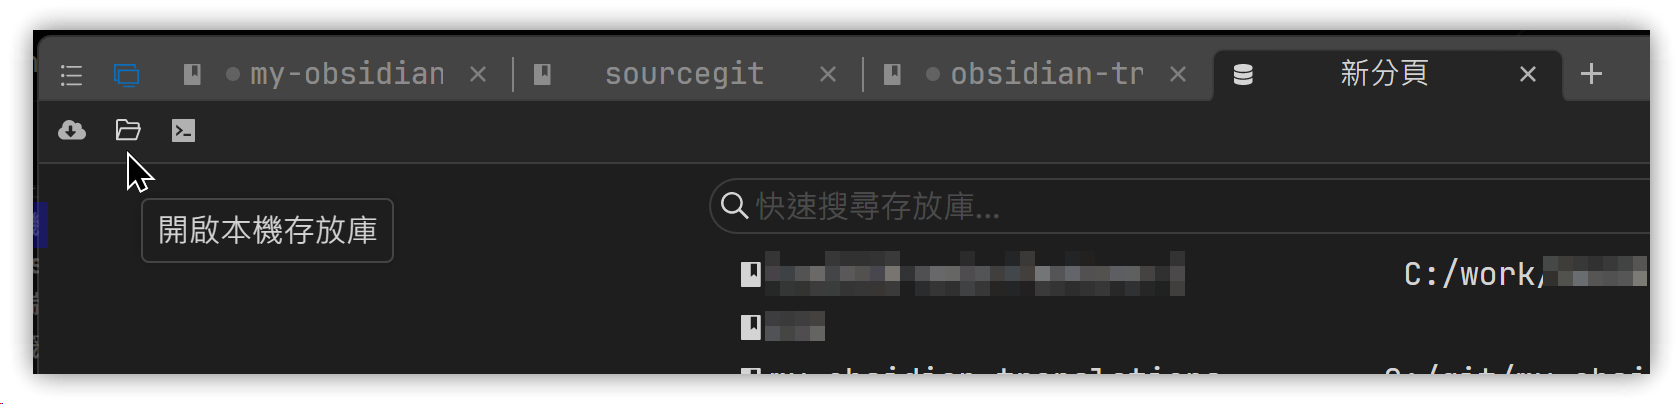
-
Click the icon on the right; the first icon allows you to clone a remote repository, while the second icon opens a local repository.
-
A new tab will open for the repository, allowing you to work with it.
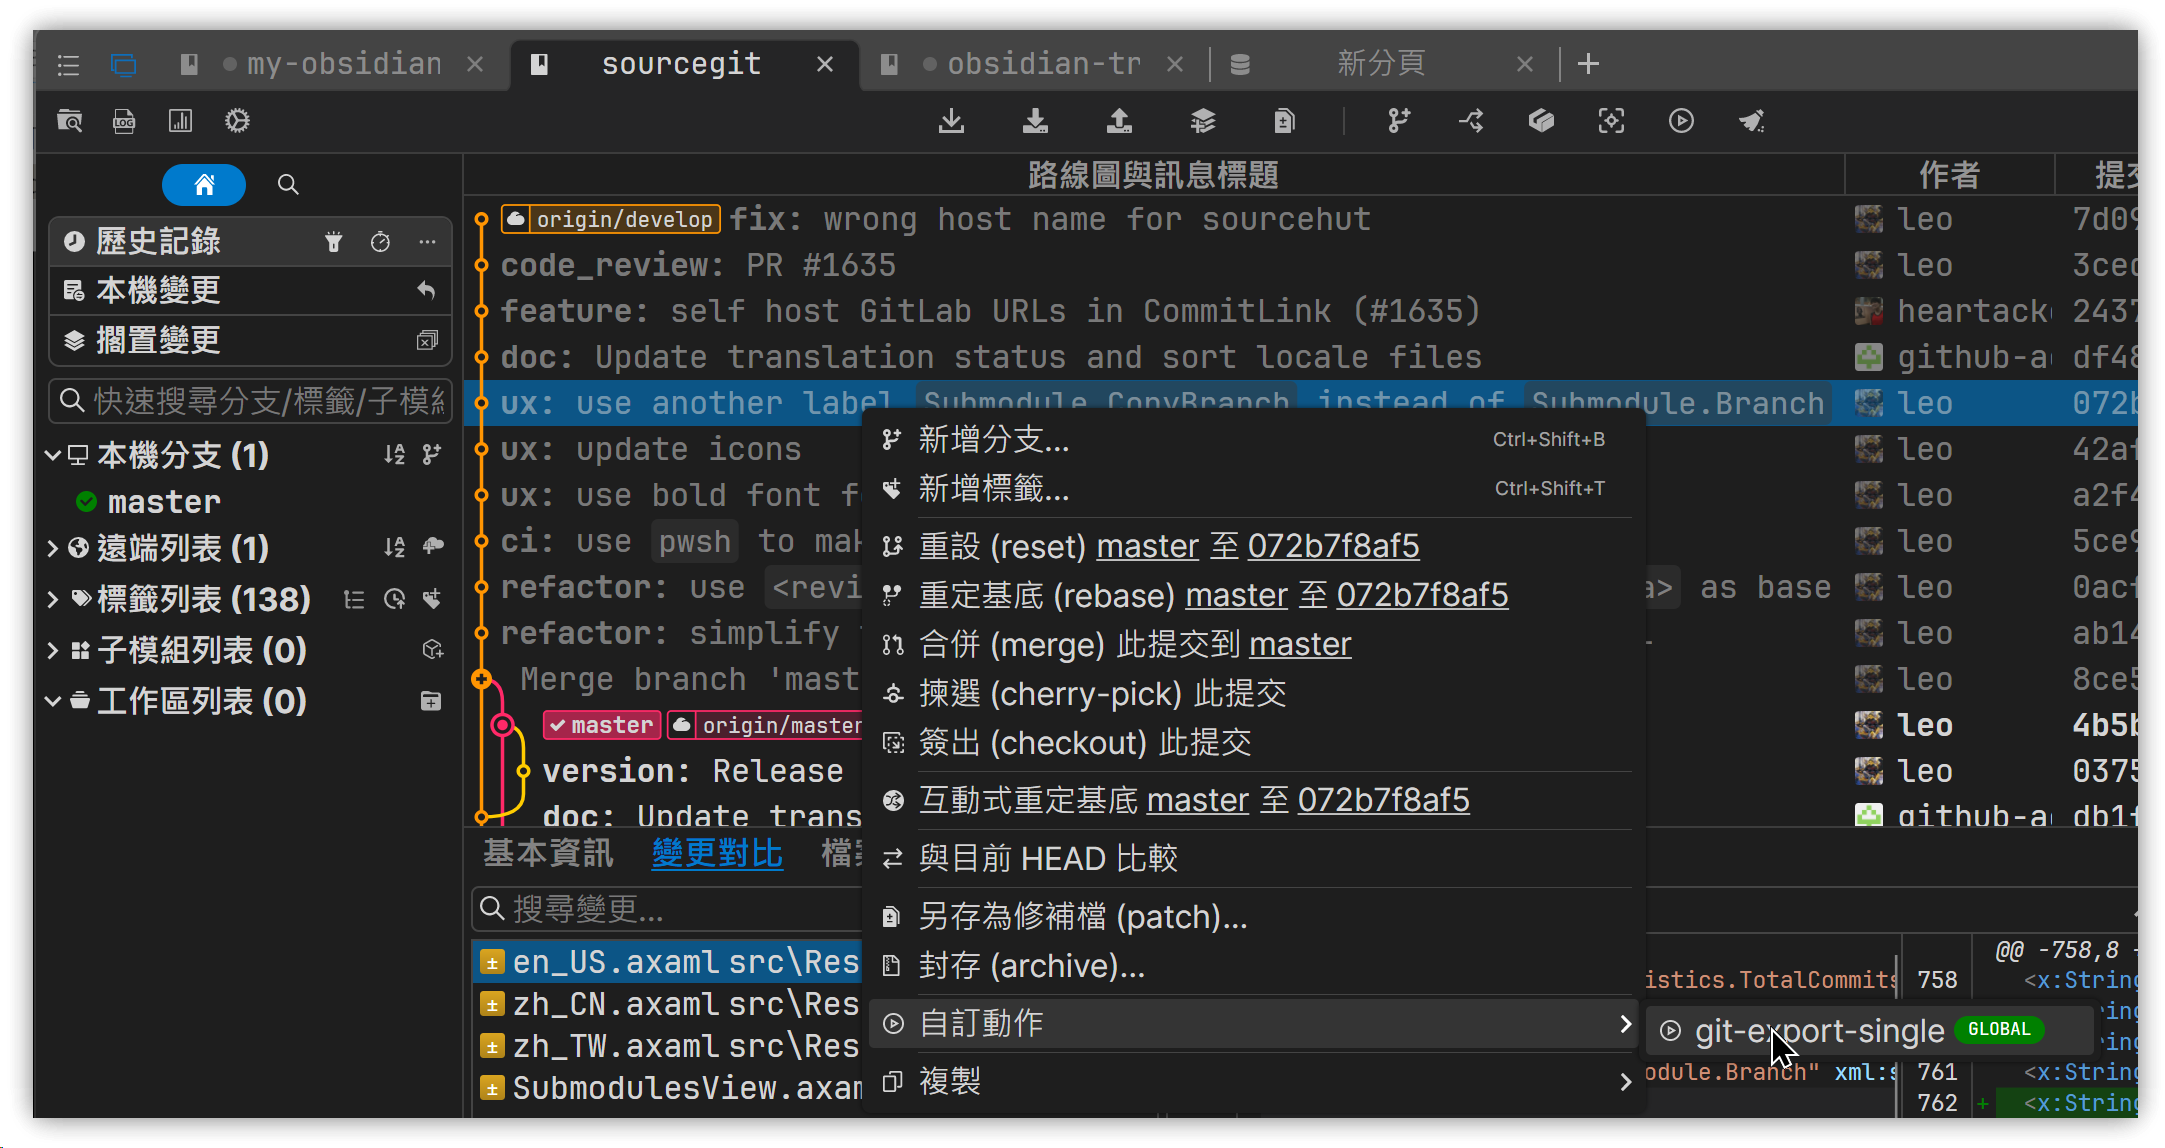
-
Click the "Change Diff" button in the middle, then click on a file to display the changes made before and after. You can click the icon in the upper right to adjust the diff view style.
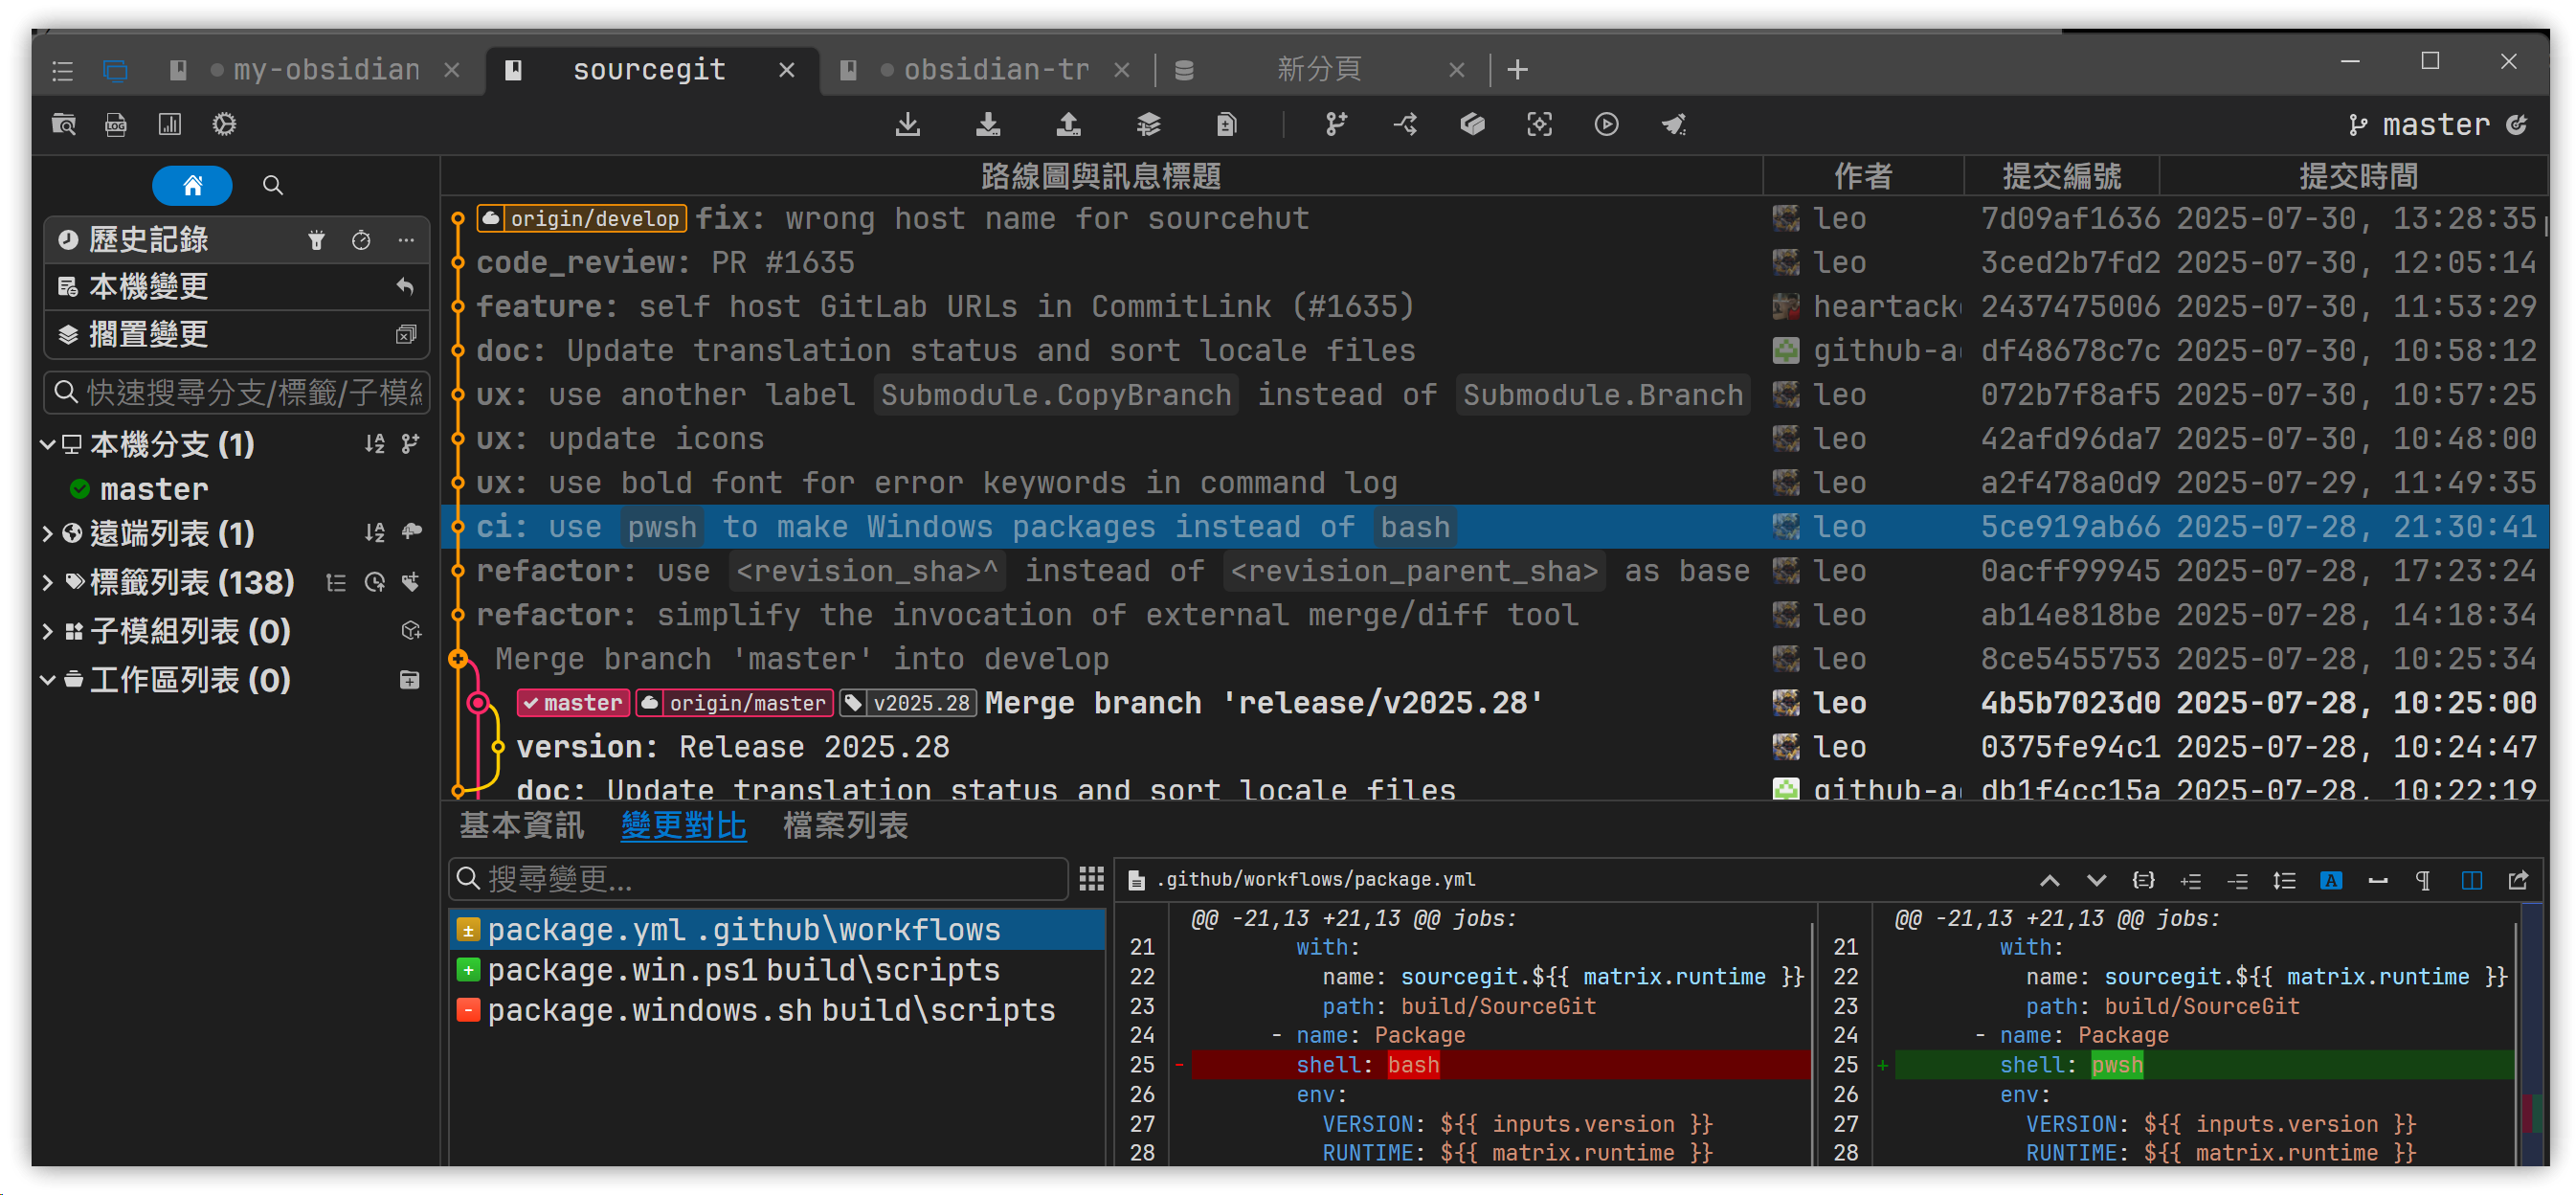
-
Use Ctrl+click to select two commits to show the files that have changed between them. Unfortunately, there is no option to copy all the file names at once; you must copy them individually.

3. Related Links
✅ sourcegit-scm/sourcegit: Windows/macOS/Linux GUI client for Git users: https://github.com/sourcegit-scm/sourcegit