Anki’s latest version (2.1.45) now comes with a built-in Image Occlusion feature, so you no longer need to install additional add-ons. This article briefly explains the steps.
1. Steps
- When creating a new card, change the note type to Image Occlusion.
- Use Select Image to choose a picture, or use Paste Clipboard Image to insert one from your system clipboard.
- In the editor, image-related function buttons will appear. Drag to create an area over the part you want to hide.
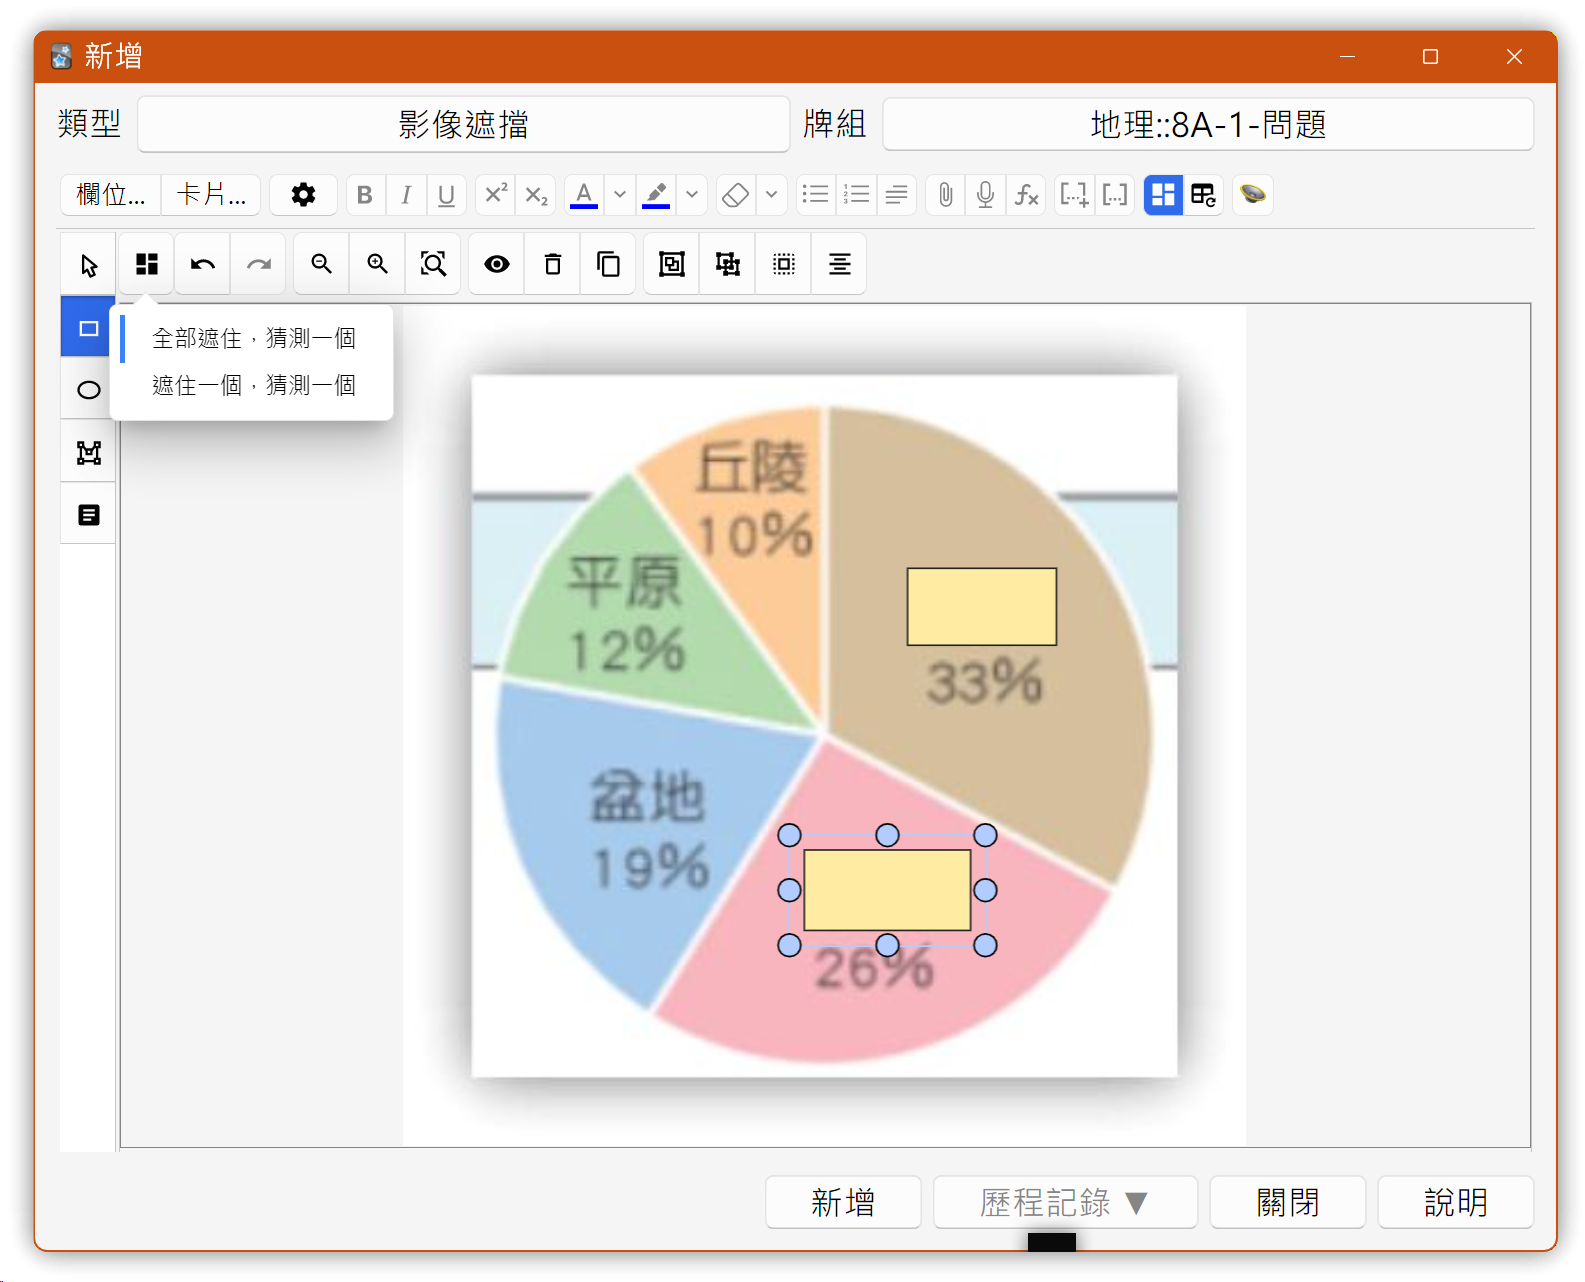
- There are two card display modes:
- Hide all, guess one: This is the most common mode. All masks are hidden, and each card shows only one revealed area. This will generate multiple cards, one for each mask.
- Hide one, guess one: Only one mask is hidden each time the card is shown.
- Click Add to generate the same number of cards as there are masks.
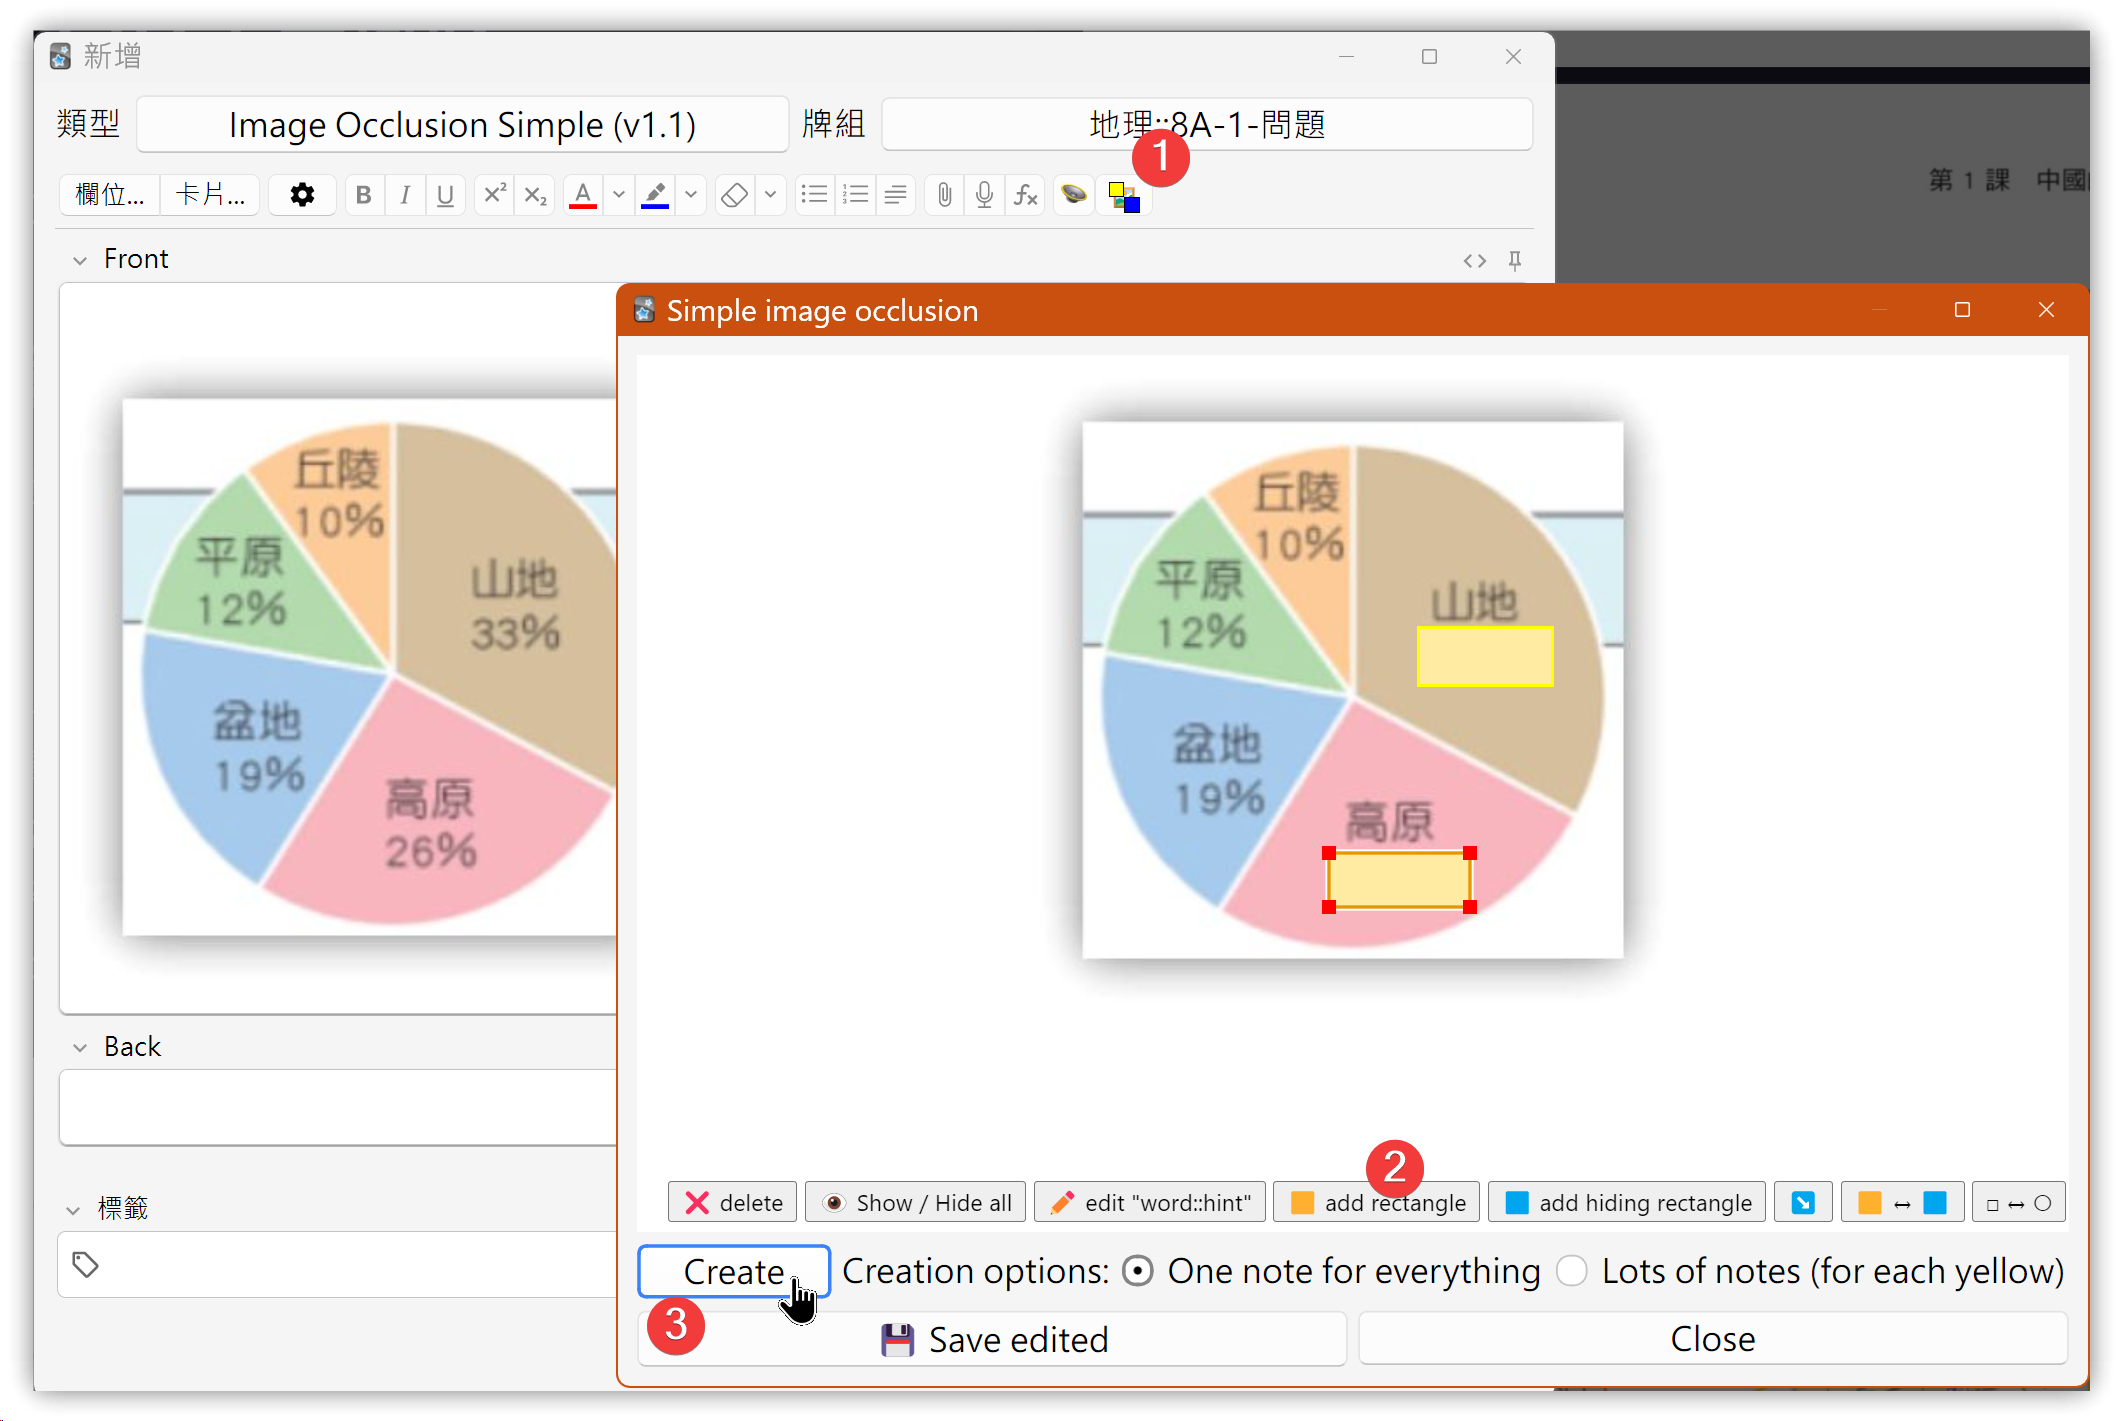
2. Simple Image Occlusion Add-on
The built-in Image Occlusion can only edit one image at a time and cannot add text or a second image. If you need these features, try the Simple Image Occlusion add-on (Add-on ID: 675107747).
After pasting an image in the editor, click the last icon at the upper right. Simple Image Occlusion will locate the image and open a window where you can drag rectangles to hide areas using add rectangle, then click Create to generate the cards.
While testing, adding from the main Anki window caused an error. However, browsing a deck first and then selecting Notes → Add Note works without issues.