Various types of documents often require screenshots, and an attractive screenshot is the first step to catching attention. Today, we’ll introduce the basic settings for the screenshot tool ShareX, with the hope that after reading this, you’ll be able to easily create screenshots with your preferred style.
1. Recommended Setup Steps
- In Traditional Chinese, “Task” is translated as “排程.” It’s recommended to switch to English.
- Open the main window from the system tray by right-clicking the icon or double-clicking it.
1.1. Application Settings
- Switch the interface to English: General → Language → English
- Paths:
- Set the personal data folder. Settings, backups, and other data will be stored here. The default is
Installation folder/ShareX/ - Set the screenshot save folder. The default is
Installation folder/ShareX/Screenshots/YYYY-MM/
- Set the personal data folder. Settings, backups, and other data will be stored here. The default is
- Settings: You can enable auto-clean for backup files and log files.
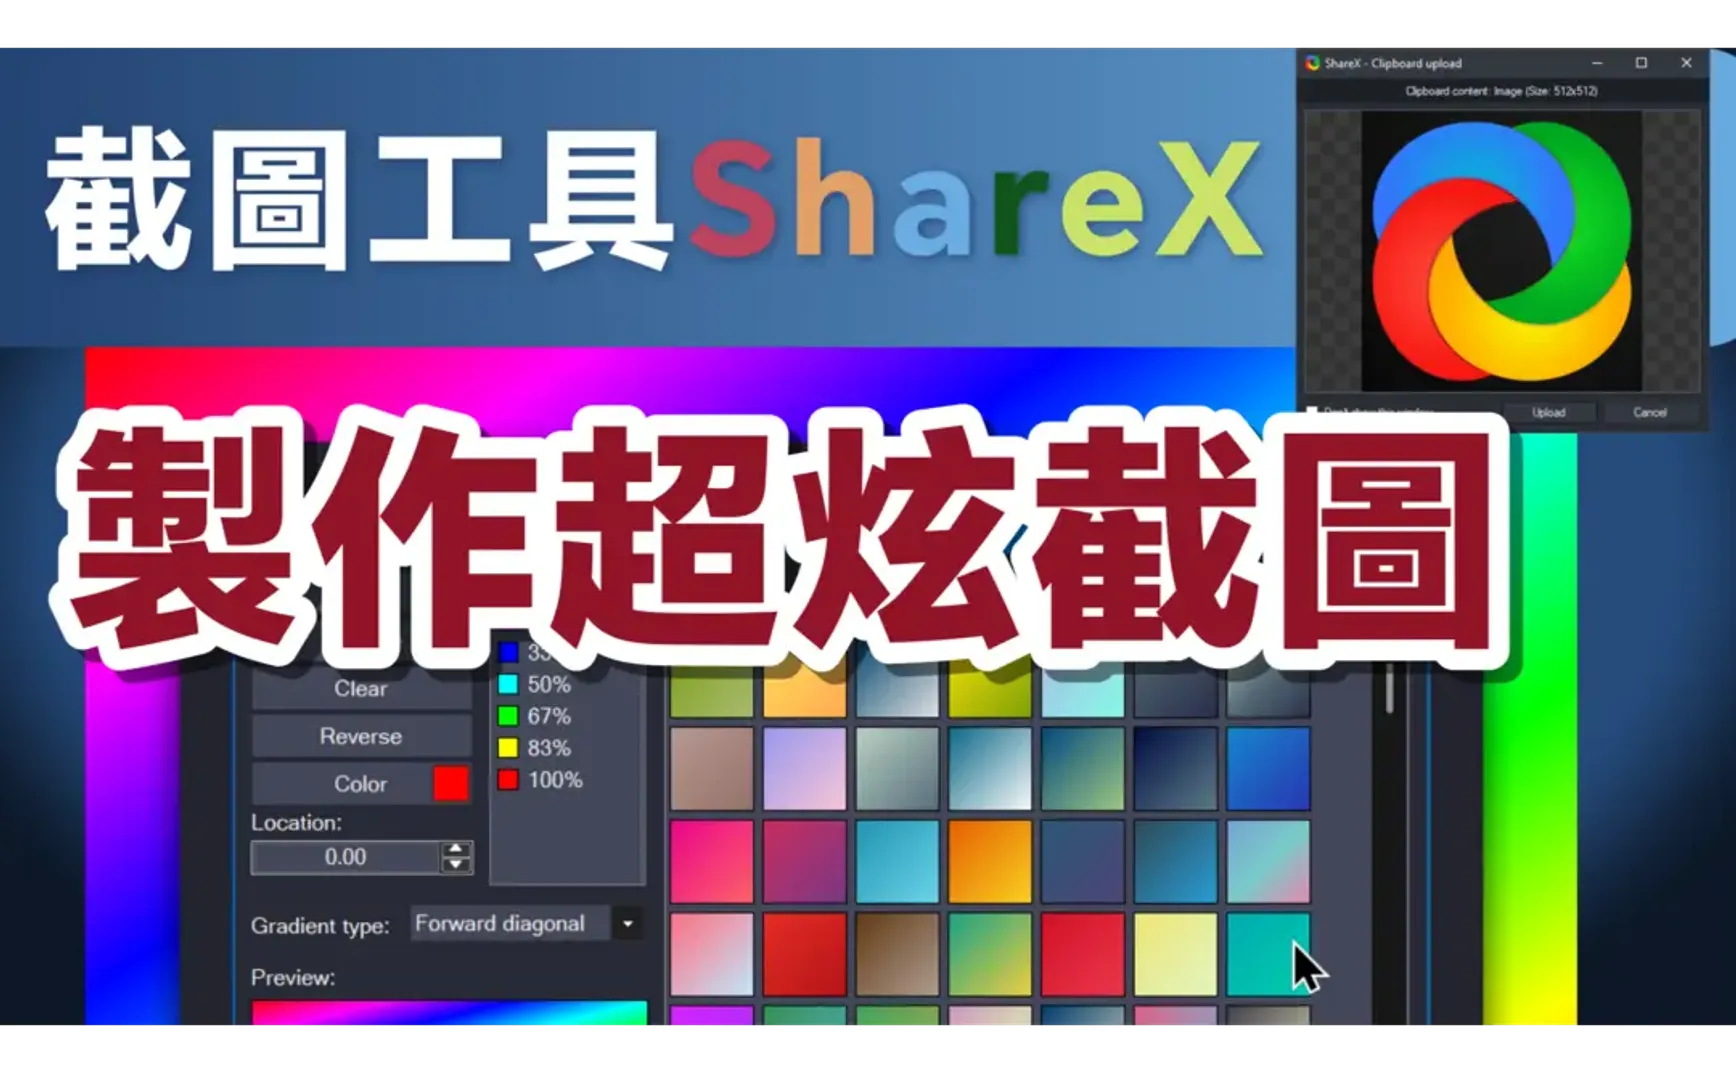
1.2. After Capture Tasks
Post-capture automated actions can be toggled in the menu. Enabled options are shown in bold.
Default enabled options:
- Copy image to clipboard
- Save image to file — Filename format is set in Task settings → Upload → File naming
- Upload image to host — Requires configuration
Recommended option:
- Open in image editor — Since screenshots often need post-editing, enable this to open the editor right after capturing. If enabled, most other settings will not take effect.
Optional:
-
Beautify image — Opens a beautify window where you can set border size, fill, shadow, add frames, etc. This cannot be applied automatically; a window will always open.

-
Add image effects — Adds visual effects automatically. The applied effects can be configured in Task settings → Image → Effects → Image effects configuration...
1.3. Task Settings
Image → Effects → Image effects configuration...
- Remove the default Name
- Click Presets → +, then enter a preset name, e.g., “Default”
- Click Effects → +, and add the following effects in order:
- Manipulations → Rounded corner: 50 (round image corners)
- Drawings → Border: 50px, use gradient, choose color
- Drawings → Background: use gradient, same color as Border
- Manipulations → Rounded corner: 50 (round the border corners)
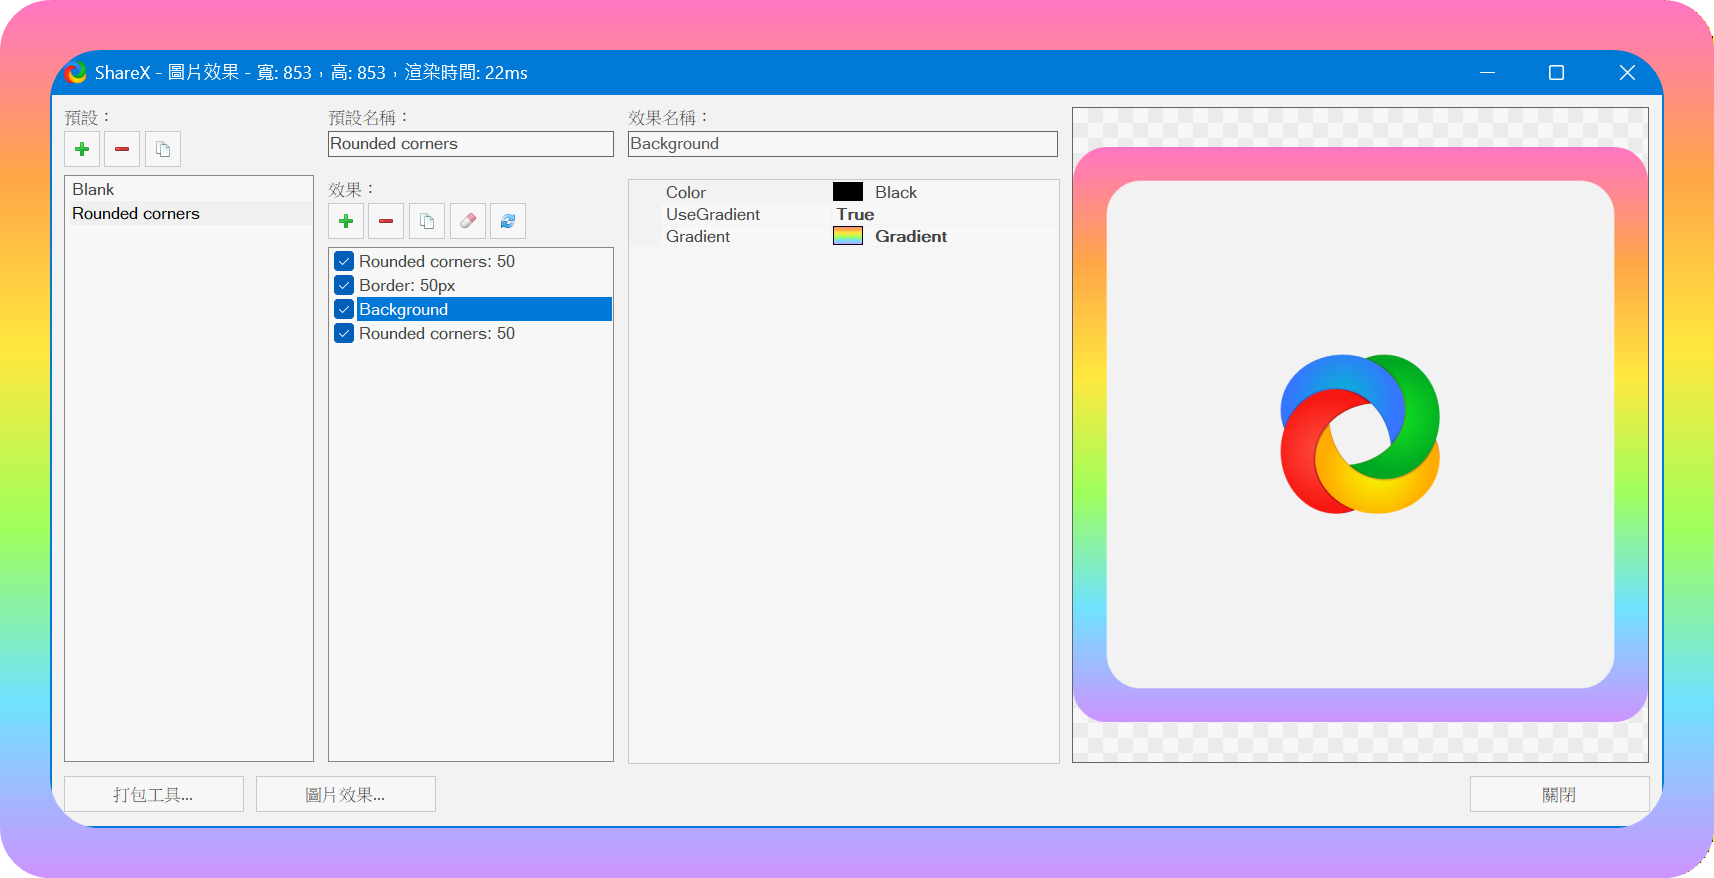
Rounded corner results may vary between versions. Use with consideration.
2. 💡 Related Links
✅ Tutorial article (Traditional Chinese): https://quaily.com/jdevtw/p/first-step-attracting-eyes-using-sharex-to-create-amazing-screenshots
✅ Tutorial article (English): https://quaily.com/jdevtw-en/p/first-step-attracting-eyes-using-sharex-to-create-amazing-screenshots
✅ Tutorial article (Japanese): https://quaily.com/jdevtw-jp/p/first-step-attracting-eyes-using-sharex-to-create-amazing-screenshots
✅ ShareX GitHub download: https://github.com/ShareX/ShareX/releases